Rated 4.7 out of 5 stars
4.7 / 5


726,000+ customers
Free 60-Day Returns
1-Year Warranty
726,000+ customers
Free 60-Day Returns
1-Year Warranty
If you have spent time browsing skincare routines lately, you have likely seen dramatic before and after pictures highlighting red light therapy. Glowing reviews promise a completely refreshed complexion, but it can be hard to tell what is real and what is clever lighting. When you invest in your skin, you want to know what changes you can actually expect to see in the mirror.
At-home light therapy has made professional-grade technology accessible, and Solawave designs devices that bring these visual benefits directly to your daily routine. Visible results do happen, but they are gradual, cumulative, and depend on regular use.
In this guide, we break down what realistic before and after progress looks like, how specific wavelengths support the appearance of your skin, and how to build a consistent routine for a smoother, more radiant complexion.
Quick Answer: Red light therapy helps improve the appearance of fine lines, supports a more even-looking skin tone, and encourages a healthy glow. Most people begin to notice subtle changes in skin radiance within two to four weeks of consistent use, with more noticeable improvements in overall texture appearing after eight to twelve weeks.
Social media often makes red light therapy look like an overnight filter. In reality, light therapy works with your skin over time. The visual shifts are subtle at first, building into noticeable improvements in smoothness, tone, and radiance with steady dedication.
When tracking your own progress, taking consistent photos helps you see how your skin evolves. Lighting, angle, and facial expression should match in every photo to give an accurate comparison. For additional guidance on building a routine, read how often to use red light therapy.
| Phase | Timeline | What You May Visibly Notice |
|---|---|---|
| Early Phase | Weeks 1 to 3 | A refreshed look, subtle boost in visible radiance, and skin that looks well-rested. |
| Progress Phase | Weeks 4 to 8 | Skin begins to look smoother, with the appearance of fine lines softening and a more even-looking tone. |
| Structural Phase | Weeks 8 to 12+ | Noticeable improvements in skin texture, a firmer look, and visibly calmed redness. |
Before starting red light therapy, most people are targeting common appearance-based concerns:
Understanding your baseline allows you to set realistic expectations. Light therapy is non-invasive and gentle, meaning it does not peel, burn, or alter the surface of your skin abruptly.
After several weeks of consistent sessions, many users find their skin takes on a healthier, more rested appearance. Fine lines often appear softer and less pronounced. The complexion looks more uniform, and makeup tends to glide on more smoothly over refined texture.
It is important to remember that results vary from person to person. Factors like genetics, sun exposure, hydration, sleep, and overall skincare habits all shape how your skin looks over time.
Cosmetic red light therapy works by exposing the skin to specific wavelengths of visible and near-infrared light. The treatment is relaxing, non-thermal, and painless. Here is a closer look at how red light therapy works to help improve the visible appearance of the complexion.
As skin matures, natural changes can cause fine lines to appear around dynamic expression areas like the eyes, brow, and smile lines. Red light therapy is widely used in cosmetic skincare to help skin look firmer and more supple. Over consistent weeks of use, users often notice a visible reduction in the look of expression lines, giving the face a smoother, plumper appearance.
Dullness often stems from environmental stressors, dryness, and a buildup of dead surface cells. Incorporating red light into your weekly routine helps revive the look of lackluster skin. Many people notice that within just a few sessions, their complexion appears more vibrant, dewy, and refreshed.
Redness and surface irritation can make skin look uneven and stressed. Red light wavelengths are recognized for their ability to soothe the visual appearance of redness and support a balanced complexion.
For targeted concerns, specific devices pair red light with blue light. Blue light is designed to target the look of blemishes, while red light calms the appearance of surface redness. Solawave offers the Bye Acne: 3-Minute Pimple Spot Treatment, an FDA-cleared blue-and-red light acne device that concentrates both wavelengths directly onto breakout-prone spots.
The skin around your eyes is thinner and more delicate than the rest of your face, making it one of the first areas to show fatigue and aging. Red light therapy can help improve the look of crow's feet and under-eye darkness. Dedicated devices, such as the Radiant Renewal Eye Recovery Pro, deliver targeted wavelengths to help the entire eye contour look rested, smooth, and revitalized. For more information, explore this guide to red light therapy for dark circles.
Not all light therapy devices are created equal. The visual benefits you achieve depend heavily on the precision of the wavelengths delivered to the skin. High-quality devices utilize specific bands within the visible and near-infrared light spectrum.
| Wavelength Type | Approximate Wavelength | Appearance-Based Visual Support |
|---|---|---|
| Blue Light | ~415 nm | Targets the appearance of blemishes and surface breakouts. |
| Amber Light | ~605 nm | Associated with a radiant, glowing complexion and revitalized skin look. |
| Red Light | ~630 nm | Helps skin look more even, smooths the look of lines, and targets redness. |
| Deep Red Light | ~660 nm | Part of a multi-wavelength approach to improve the appearance of aging skin. |
| Near-Infrared Light | ~830 nm | Helps skin look firmer, refreshed, and visibly supported. |
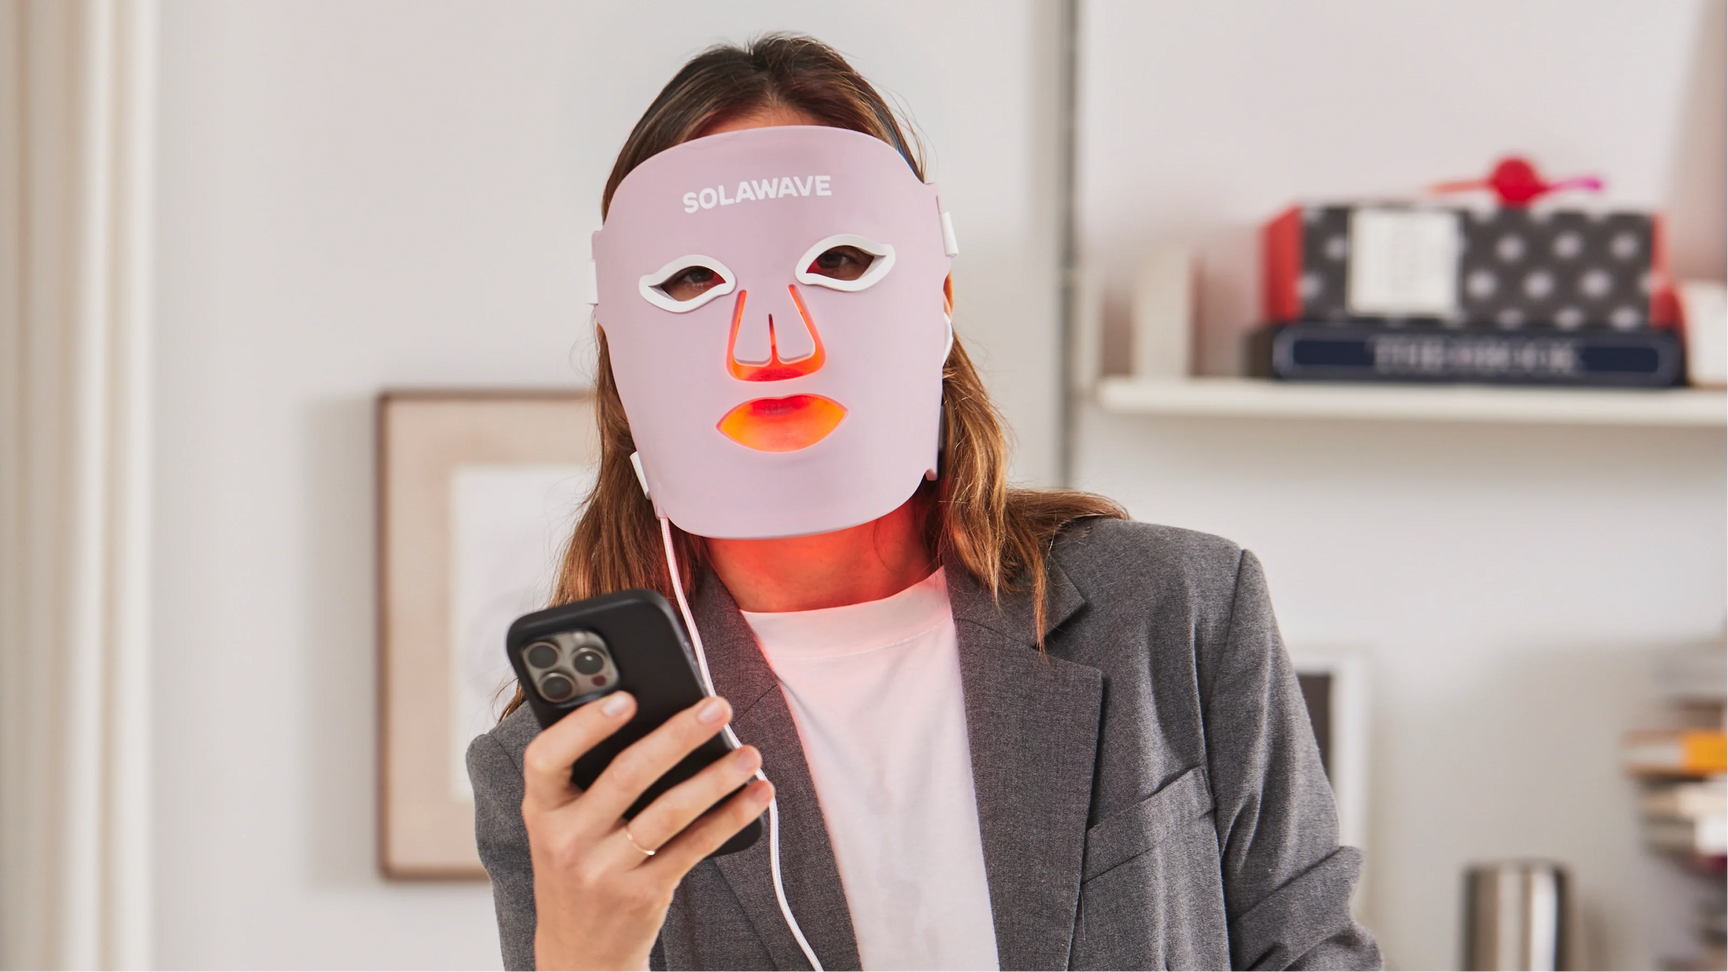
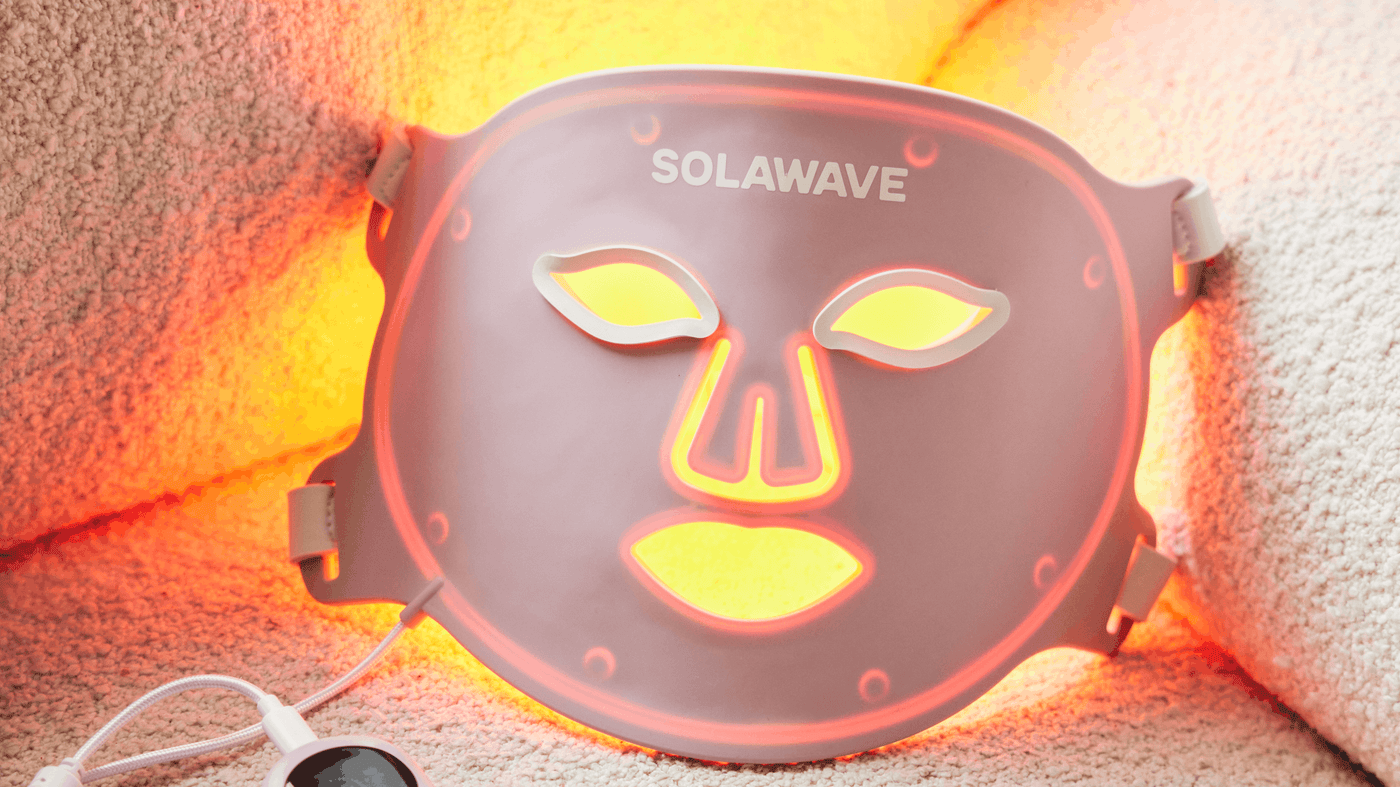
Devices like the Wrinkle Retreat Pro LED Face Mask utilize a combination of Amber, Red, Deep Red, and Near-Infrared wavelengths across 320 LEDs. By delivering these coordinated wavelengths simultaneously, full-face masks provide comprehensive visual coverage for the entire face in a quick 3-minute session.
Getting impressive before and after results requires more than just owning a device. It comes down to consistency, proper technique, and smart skincare pairing. For a step-by-step routine, read how to use red light therapy at home.
Pro Tip: Never skip your skin prep. Cleanse your skin thoroughly before every light therapy session to remove sunscreen, makeup, and heavy oils that could block or reflect light energy.
Start your session with fresh, clean skin. A gentle, non-stripping cleanser like the Pre- & Probiotic Hydrating Gel Cleanser effectively removes dirt, excess oil, and makeup without drying the skin. Squeeze a small amount into wet hands, lather, gently massage over the face for 30 to 60 seconds, and rinse with lukewarm water.
Pairing topicals with your light therapy sessions can help maximize your visible glow. However, applying the right products in the right order is essential.
Follow your device guidelines closely for session time and frequency. More is not always better with light therapy; your skin responds best to regular, moderate exposure.
After completing your session, continue with your standard daily skincare routine to support your skin barrier.
If following a full routine, you can mist the face with Pre- & Probiotic Refreshing Jelly Mist, press in a few drops of Pre- & Probiotic Plumping Peptide Serum, and finish with Pre- & Probiotic Nourishing Moisturizer. For extra hydration on designated self-care days, apply a Hydrating Sheet Mask for 10 to 20 minutes to leave skin looking plump and dewy.
When researching before and after results, you will encounter comparisons between professional clinical treatments and at-home tools. Both approaches have clear benefits, and many people choose to combine them.
In-office treatments conducted by dermatologists or estheticians use high-output light panels. Because these panels deliver high irradiance across large areas, appointments are typically scheduled once or twice a week, or added at the end of a facial peel or microneedling treatment.
While professional sessions deliver noticeable results, they require traveling to a clinic and carrying an ongoing appointment cost.
At-home devices bring that same core technology to your bathroom counter without the professional price tag. Modern FDA-cleared devices are calibrated for safe, frequent use in short sessions.
The primary advantage of at-home devices is convenience and consistency. Because you can use an at-home mask or wand 3 to 5 times per week, you provide your skin with steady, cumulative support. For most people, regular at-home use produces sustained, beautiful visual improvements over time.
Red light therapy is non-invasive, gentle, and suitable for a wide range of skin types. However, safe and responsible use is essential for achieving the best possible results.
Visible red and near-infrared light is bright. When using full-face masks or dedicated eye devices like the Wrinkle Retreat Pro LED Face Mask or the Radiant Renewal Eye Recovery Pro, always use the supplied protective eyewear. Ensure the shields are properly installed before turning on the device. Closing your eyes alone is not a substitute for proper eye protection.
Red light therapy is generally well tolerated across all skin types. However, individuals with deeper skin tones (Fitzpatrick skin types V and VI) or those prone to hyperpigmentation can be more sensitive to visible light energy. If you have pigment-prone skin, it is a good practice to consult a dermatologist about appropriate session frequency.
Always perform a simple patch test on your arm or jawline before using a new light device or topical product on your face.
Do not use light therapy devices if you:
If you have an active skin condition, recent cosmetic injections, or medical questions, consult your healthcare provider or dermatologist before starting a new routine.
Selecting the best device depends on the specific areas you want to address and how you prefer to spend your skincare time.
If you want hands-free, comprehensive coverage that addresses fine lines, tone, and texture all at once, a full-face mask is the ideal choice. The Wrinkle Retreat Pro LED Face Mask delivers four distinct wavelengths in a fast, automated 3-minute treatment that fits effortlessly into any morning or evening routine.
If you enjoy an active, hands-on skincare ritual, a multifunctional tool offers versatility. The 4-in-1 Skincare Wand combines 630nm red light with galvanic current, therapeutic warmth, and facial massage. It is ideal for targeted application along the jawline, cheeks, under-eyes, and forehead.
The neck and chest often show signs of sun exposure and aging just as quickly as the face. The Neck & Chest Pro Light Therapy Mask is designed specifically to wrap comfortably around the neck and décolleté, delivering Amber, Red, Deep Red, and Near-Infrared light across 320 LEDs (powered by 160 dual-core chips) in a 3-minute session. Note that FDA clearance for this particular device is currently pending.
If you travel frequently or want a compact tool that works on both face and body, the 2-in-1 Skincare Mini offers portable red and near-infrared light therapy with soothing warmth.
The visual improvements seen in red light therapy before and after photos are achievable when you commit to regular, consistent care. By delivering targeted wavelengths to clean, prepped skin, at-home light therapy helps your complexion look smoother, firmer, and more radiant over time.
Bottom line: Real skincare transformations take time, and red light therapy offers a gentle, non-invasive way to help your skin look its absolute best.
Ready to find the perfect light therapy match for your skin goals? Explore our collection of FDA-cleared light therapy devices or take our Skin Quiz to discover your personalized routine.
Most people begin to notice subtle improvements in radiance and skin hydration after two to four weeks of consistent sessions. More noticeable changes in the appearance of fine lines, skin firmness, and overall texture typically develop over eight to twelve weeks of regular use.
While some devices can be used frequently, Solawave recommends using our light therapy devices 3 to 5 times per week for optimal results. Your skin needs time to respond to the light exposure, so exceeding the recommended daily session time or frequency does not speed up your progress.
Always begin with clean, dry skin free of makeup and sunscreen. When using the Wrinkle Retreat Pro LED Face Mask, you can apply LightBoost Face & Neck Serum and LightBoost Face & Neck Rich Cream before your session, making sure they are fully absorbed before turning on the mask. When using the 4-in-1 Skincare Wand, apply LightBoost Wand Activating Serum directly to your skin before and during use for smooth glide.
The visual benefits of red light therapy are cumulative and require ongoing maintenance to preserve. If you stop using your device completely, your skin will naturally continue its normal aging process over time. Continuing a maintenance schedule of a few sessions per week helps keep your complexion looking refreshed, smooth, and radiant.
The statements on this website have not been evaluated by the FDA. The information provided on this site is not intended to diagnose, treat, cure, or prevent any disease and should not be construed as medical advice. Results may not be typical.
 Skincare Devices
 Skincare Devices