Rated 4.7 out of 5 stars
4.7 / 5


726,000+ customers
Free 60-Day Returns
1-Year Warranty
726,000+ customers
Free 60-Day Returns
1-Year Warranty
Searching for real before-and-after results from facial red light therapy can feel overwhelming. Online feeds are packed with dramatic side-by-side photos, but it is not always clear which changes are genuine, how long they take, or what routine created them. Solawave designs light therapy tools to help bring visible skincare results into your regular home routine. The reality of red light therapy is that progress is gradual, cumulative, and deeply tied to consistent use. Rather than an overnight transformation, red light works over weeks to support the look of refreshed, smoother, and more radiant skin. Understanding what happens at each stage helps you set realistic expectations and build a routine that delivers visible changes you can actually see in the mirror.
Red light therapy uses specific visible and near-infrared wavelengths to support your skin's overall appearance. When light is delivered at calibrated wavelengths, it helps the complexion look more even, refreshed, and energized.
Many people turn to light therapy to address common cosmetic concerns that develop with age, sun exposure, and daily stress:
Quick Answer: Facial red light therapy delivers gradual, cumulative cosmetic improvements. Most people notice an initial boost in skin radiance within two to four weeks, while changes in the appearance of fine lines and texture typically become noticeable after eight to twelve weeks of consistent sessions.
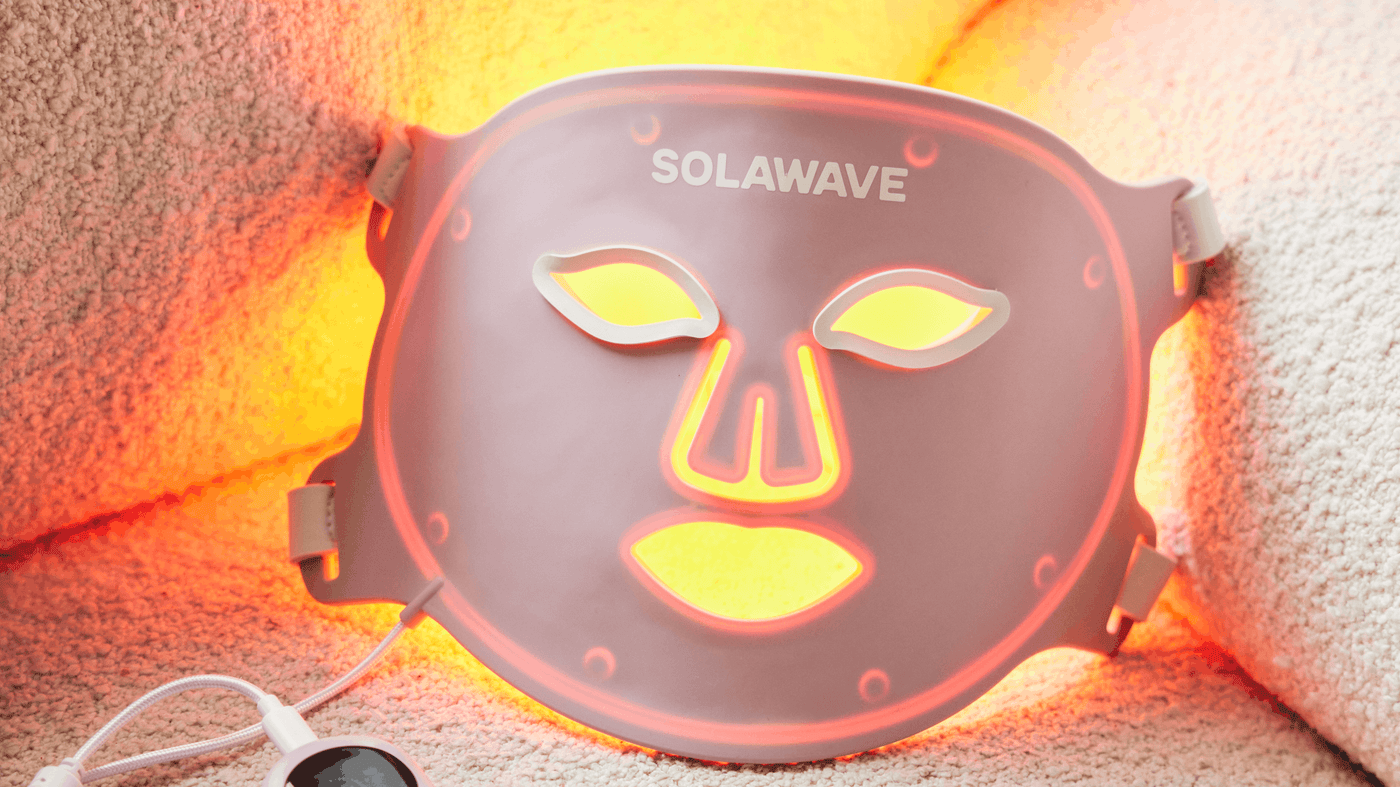
Different wavelengths of light target the visible surface of your skin in complementary ways. Many advanced at-home devices combine multiple wavelengths into a single session to support overall skin appearance.
The table below outlines the primary cosmetic wavelengths used in facial light therapy devices:
| Wavelength | Spectral Color | Visible Skin Focus |
|---|---|---|
| ~605 nm | Amber Light | Promotes a glowing, radiant, and refreshed look. |
| ~630 nm | Red Light | Helps even out skin tone and calm the appearance of redness. |
| ~660 nm | Deep Red Light | Part of a multi-wavelength approach to help soften the look of aging skin. |
| ~830 nm | Near-Infrared Light | Invisible light often paired with red to support the appearance of firmer skin. |
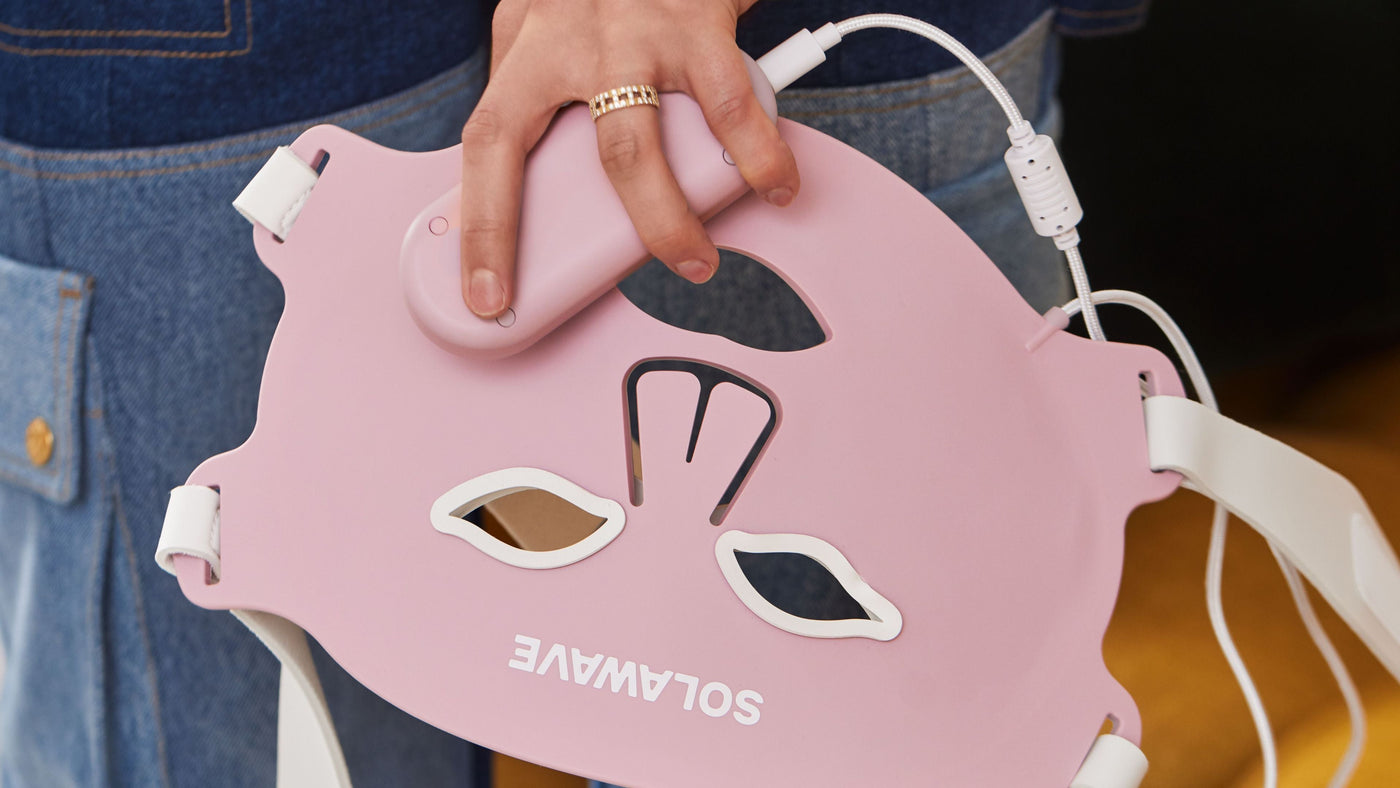
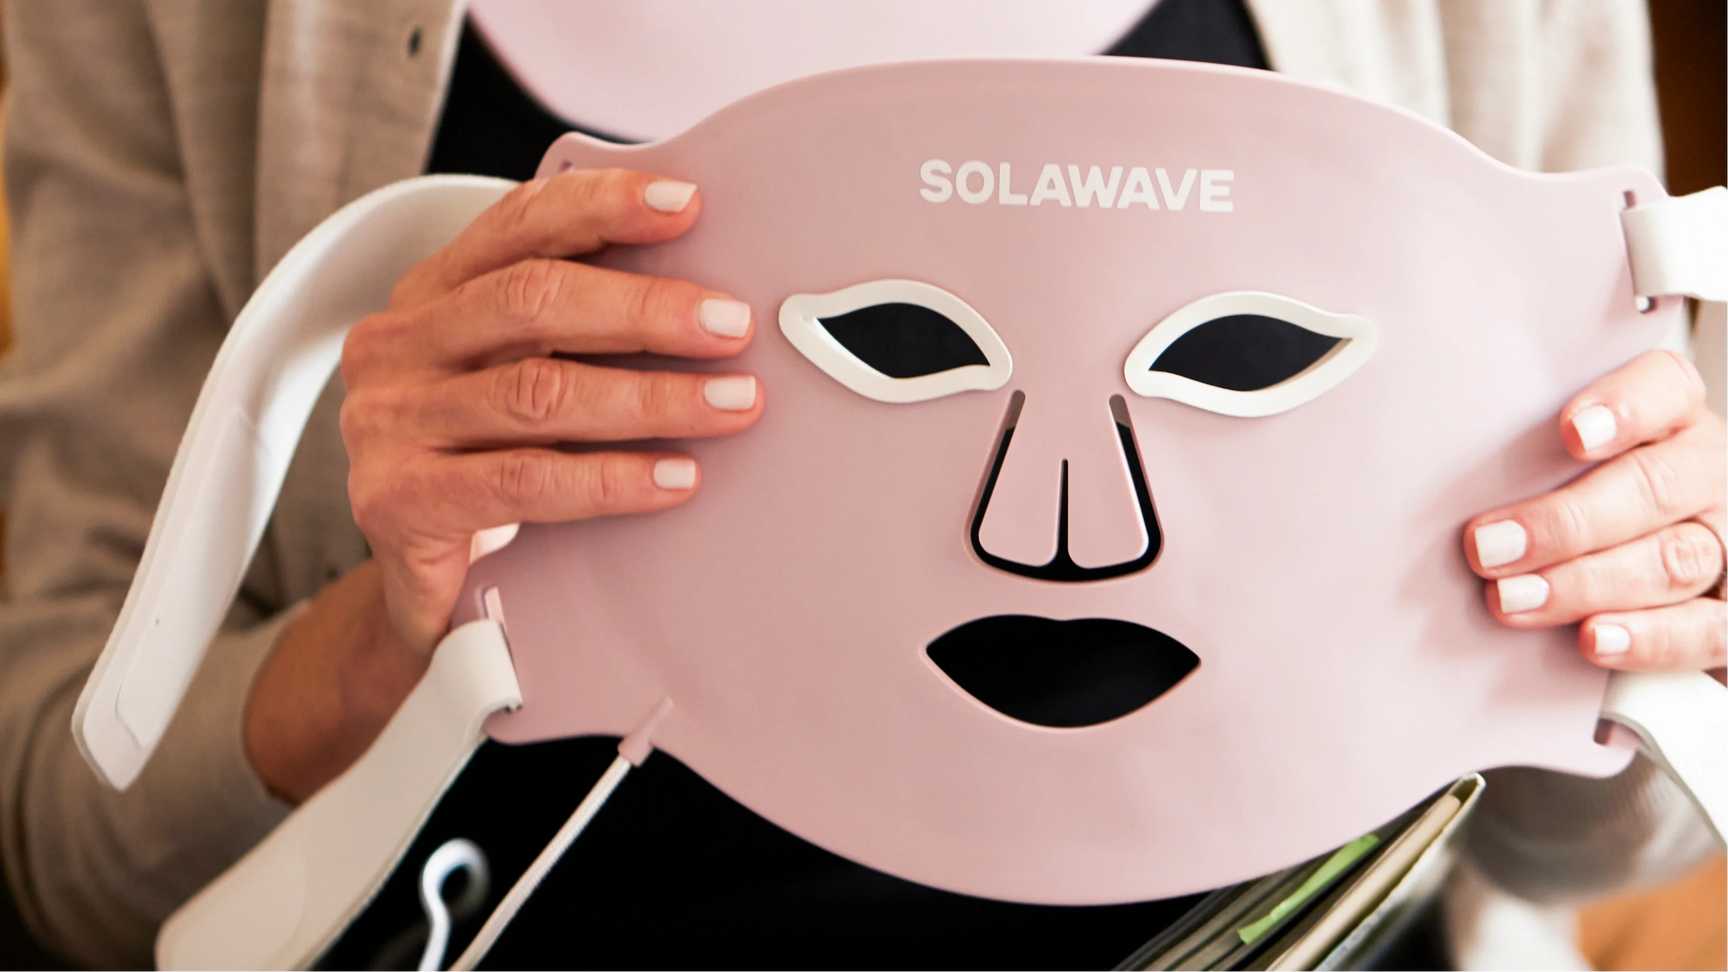
When you use a full-coverage tool like the Wrinkle Retreat Pro LED Face Mask, you receive a combination of all four wavelengths across 320 LEDs during a single 3-minute session. This multi-spectrum approach provides comprehensive visual support across the entire face at once.
For a broader explanation of how red light therapy works, explore the science behind light therapy and its role in a skincare routine.
Before-and-after results do not happen after a single evening. Because light therapy supports the skin gradually, the visible progression happens across distinct phases.
During the first two weeks, your primary visible shift will be a rested, refreshed look. Skin often appears more hydrated and awake, especially when you pair your device with hydrating topicals.
Do not expect deep lines or uneven pigmentation to shift during this initial window. The goal during the first two weeks is establishing a steady habit without skipping sessions.
By the one-month mark, subtle structural improvements start to show in your reflection. Consistent sessions, repeated three to five times per week, begin to reflect in the visible texture of your skin.
For more guidance on timing, read how often to use red light therapy.
This is the window where true before-and-after differences become apparent in photos. Clinical studies evaluating light therapy consistently use eight- to twelve-week periods because visible changes in skin firmness and wrinkle depth require sustained consistency.
Key Takeaway: Real before-and-after changes take at least eight to twelve weeks of dedicated use. Taking a well-lit photo on day one and comparing it to day sixty gives you the clearest view of your personal progress.
Many people feel unsure whether their routine is working because they look in the mirror every day. Subtle changes build slowly, making them easy to miss in real time. Documenting your journey with photos helps you track real cosmetic shifts accurately.
You can also browse before-and-after results for examples of how visible changes may develop over time.
To capture genuine before-and-after photos, follow these simple guidelines:
Different areas of the face benefit from different tool designs. Choosing the right format depends on whether you want broad, hands-free facial coverage or targeted treatment for specific zones.
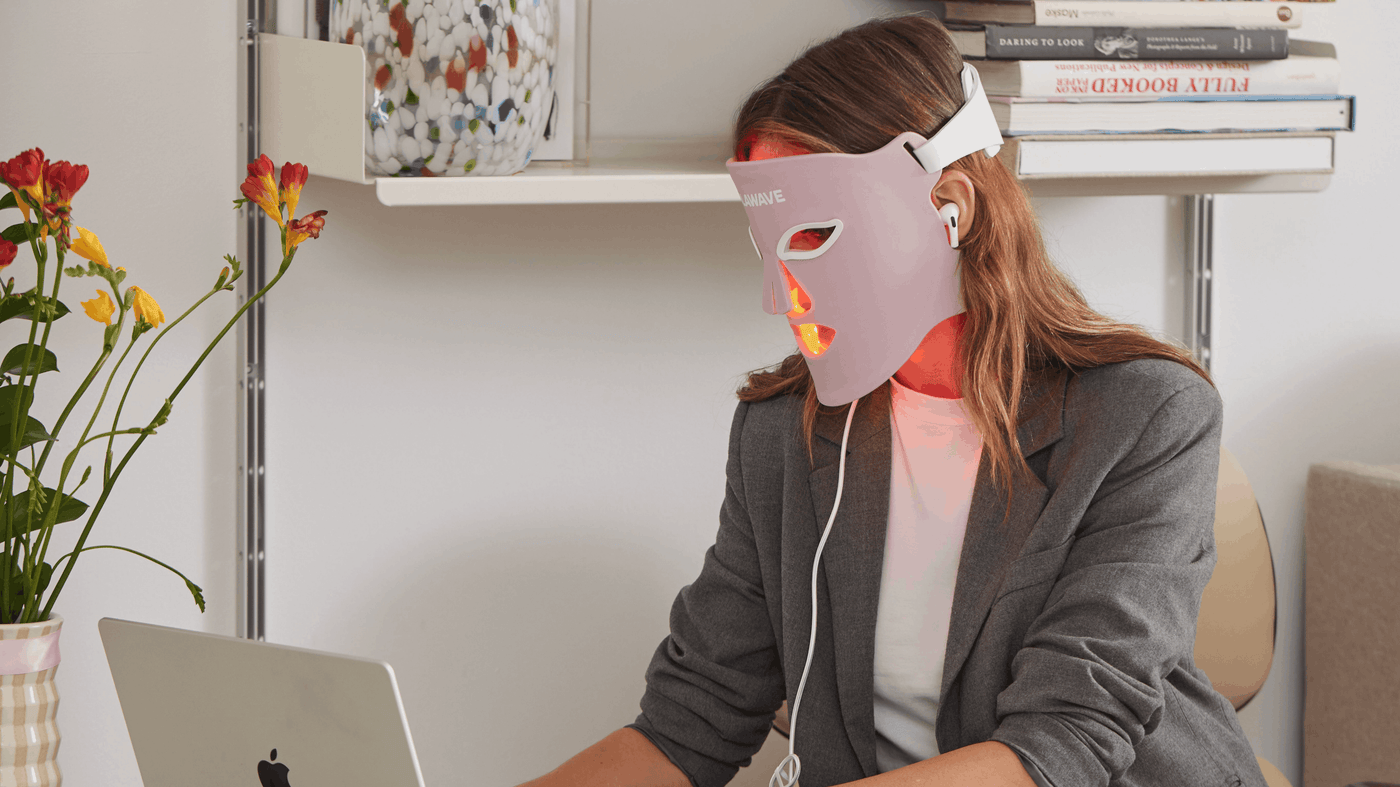
If your main goal is overall rejuvenation, tone evening, and softening lines across your whole face, a full mask is the most efficient choice. The Wrinkle Retreat Pro LED Face Mask is an FDA-cleared device featuring 320 LEDs delivering amber, red, deep red, and near-infrared wavelengths.
If you prefer a portable tool that allows you to concentrate on specific areas, like the under-eye area, smile lines, or forehead creases, a wand offers customizable control. Solawave designed the Radiant Renewal 4-in-1 Skincare Wand to combine 630 nm red light therapy with galvanic current, facial massage, and therapeutic warmth.
The skin around the eyes is significantly thinner than the rest of the face, making it one of the first areas to show fatigue, fine lines, and puffiness. The Radiant Renewal Eye Recovery Pro is an FDA-cleared wearable device with 80 LEDs calibrated to deliver red, deep red, amber, and near-infrared light specifically to the orbital area.
How you prepare your skin before a light therapy session directly impacts your experience and results. Pairing the right topical formulas with your device helps support hydration, glide, and visible radiance.
Always begin with clean, dry skin. Makeup, heavy mineral sunscreens, and thick daytime creams can form a physical barrier on the surface that scatters light waves.
Use a gentle formula like the Pre- & Probiotic Hydrating Gel Cleanser to remove daily dirt and oils without stripping your moisture barrier. Work a small amount into wet hands, massage across the face for 30 to 60 seconds, rinse with lukewarm water, and gently pat dry.
Light therapy works best when paired with lightweight, water-based skincare designed specifically for the process:
Put on your device, ensure all safety accessories are in place, and begin your treatment. For full-face and eye masks, always ensure the supplied protective eyewear is properly installed before turning on the lights.
After finishing your session, you do not need to wash your face. Gently pat any remaining serum into your skin. If you are completing your routine in the morning, finish with a broad-spectrum daily sunscreen. In the evening, follow with your favorite nourishing moisturizer, such as the Pre- & Probiotic Nourishing Moisturizer, to keep your skin feeling soft and supple overnight.
Pro Tip: If your skin feels especially dry or depleted, try using a Hydrating Sheet Mask once or twice a week after cleansing. Leave it on for 10 to 20 minutes, remove it, and massage the leftover serum into your face and neck to boost your skin's dewy appearance.
If you have been using red light therapy for several weeks and feel your before-and-after results are stalling, a few common routine errors might be the cause.
Light therapy relies on cumulative exposure. Using a mask every day for one week and then forgetting it for two weeks will not yield the same visible smoothing as steady, three-to-five-day-per-week consistency over two months. Treat your sessions like a regular workout for your complexion.
Sunscreens contain active mineral or chemical filters specifically engineered to reflect and absorb incoming light. Wearing sunscreen or heavy makeup during a light therapy treatment prevents the light from reaching your skin effectively. Always start with freshly washed, clean skin.
For a step-by-step routine, read how to use red light therapy at home.
Bright LEDs can feel intense on the eyes. When using the Wrinkle Retreat Pro LED Face Mask or the Radiant Renewal Eye Recovery Pro, always ensure the included protective eyewear is properly installed. Relying only on closed eyelids is not sufficient for proper eye comfort and safety.
More is not always better when it comes to light therapy. Solawave devices are engineered to deliver an optimal amount of light in brief, focused sessions: 3 minutes for masks and up to 12 minutes total for wand sessions. Using a device multiple times per day or running back-to-back sessions on the same area does not speed up results and may cause temporary redness or skin irritation.
At-home red light therapy is non-invasive, gentle, and suitable for a wide variety of adult skin types. However, safe use requires following clear guidelines and understanding individual skin needs.
Solawave light therapy devices are designed for cosmetic use by healthy adults aged 18 and older. Before using any new device for the first time, perform a basic light sensitivity patch test on your arm following the product manual instructions.
Light therapy is generally well tolerated across different complexions. However, individuals with deeper skin tones (Fitzpatrick Skin Types V and VI) or those prone to hyperpigmentation can be more sensitive to visible light energy. If you have pigment-prone skin, consider consulting a dermatologist before starting a new routine to determine the most appropriate session frequency for your complexion.
For more information about potential sensitivity and precautions, see this guide to red light therapy irritation and redness.
Do not use light therapy devices if you:
If you have an active dermatological condition, recently received cosmetic injectables, or take prescription skin medications, consult your physician or dermatologist before incorporating at-home light therapy into your regimen.
When comparing before-and-after experiences, device design plays a major role in overall satisfaction. A high-performing light therapy tool balances three essential elements:
By choosing an FDA-cleared tool with thoughtful ergonomic design, you ensure your at-home treatments are comfortable, reliable, and simple to repeat week after week.
Facial red light therapy offers a gentle, non-invasive method for improving the visible appearance of fine lines, uneven texture, and dull skin tone over time. While social media often highlights dramatic overnight changes, authentic results develop gradually through regular, consistent sessions. By pairing quality light therapy tools with hydrating skincare, you give your skin the support it needs to look visibly refreshed, smooth, and radiant.
Bottom line: Real light therapy results are built through patience and steady consistency rather than quick fixes.
To find the perfect routine for your specific skin goals, explore our Wrinkle Retreat Pro LED Face Mask.
Take the Skin Quiz to find your ideal match.
Most people begin noticing an initial boost in skin radiance and a refreshed appearance within two to four weeks of regular use. More noticeable improvements in the look of fine lines, skin smoothness, and overall tone typically appear after eight to twelve weeks of consistent sessions. Individual timelines vary based on your starting skin condition and routine consistency.
Yes, consistent red light therapy is widely used to help soften the appearance of fine lines and expression creases over time. Combining red and near-infrared wavelengths helps skin look visibly firmer and more rested. For the best visual results, use your device three to five times per week for at least eight weeks.
Always start with clean skin free of makeup and sunscreen. When using LED face masks, you can apply compatible LightBoost Face & Neck Serum and Rich Cream before your session, ensuring they fully absorb before putting on the mask. When using the 4-in-1 Skincare Wand, apply LightBoost Wand Activating Serum before and during treatment to ensure smooth glide.
Solawave recommends using the Wrinkle Retreat Pro LED Face Mask for 3 minutes per session, three to five times per week. You should not use the mask more than once per day. Maintaining this regular schedule for at least four to eight weeks provides the most reliable visual improvements.
The statements on this website have not been evaluated by the FDA. The information provided on this site is not intended to diagnose, treat, cure, or prevent any disease and should not be construed as medical advice. Results may not be typical.
 Skincare Devices
 Skincare Devices