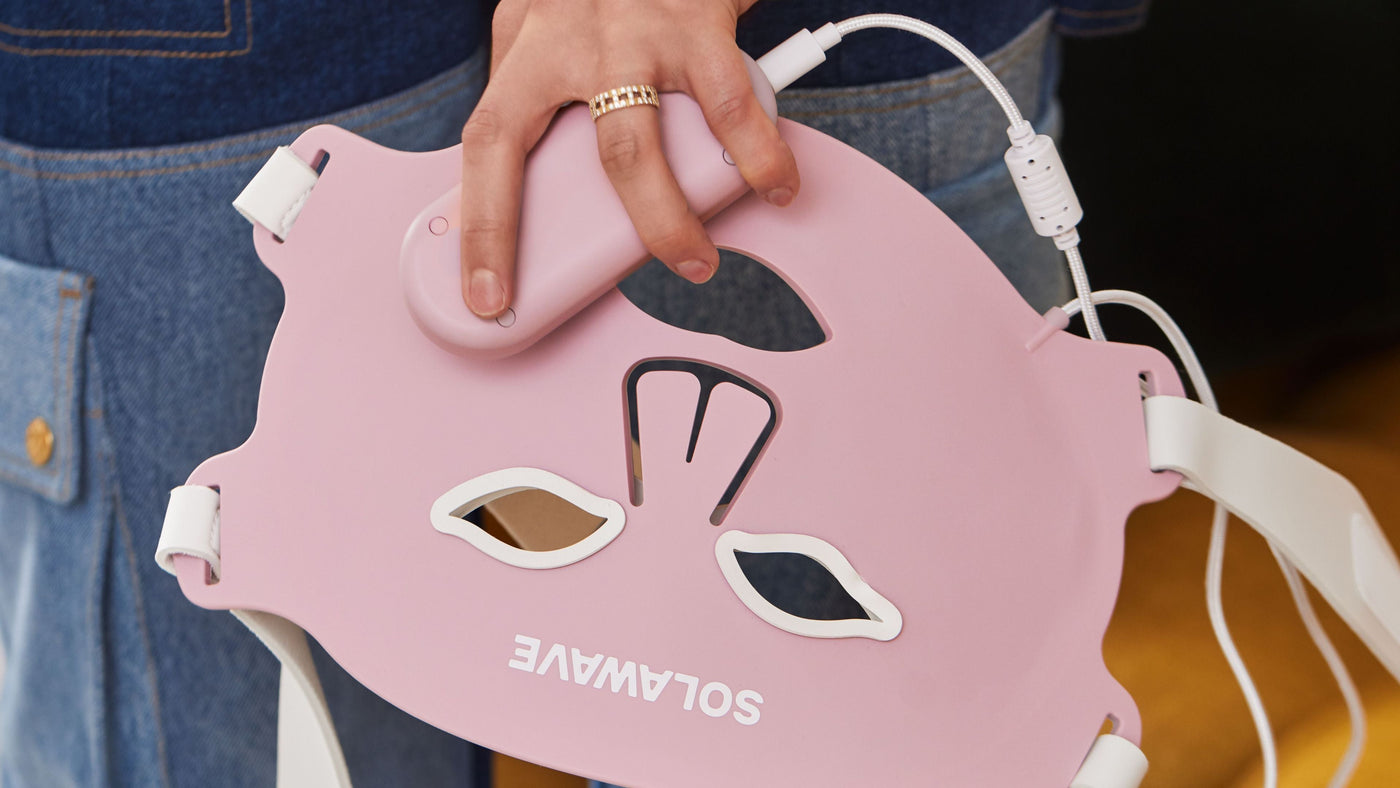
Rated 4.7 out of 5 stars
4.7 / 5


726,000+ customers
Free 60-Day Returns
1-Year Warranty
726,000+ customers
Free 60-Day Returns
1-Year Warranty
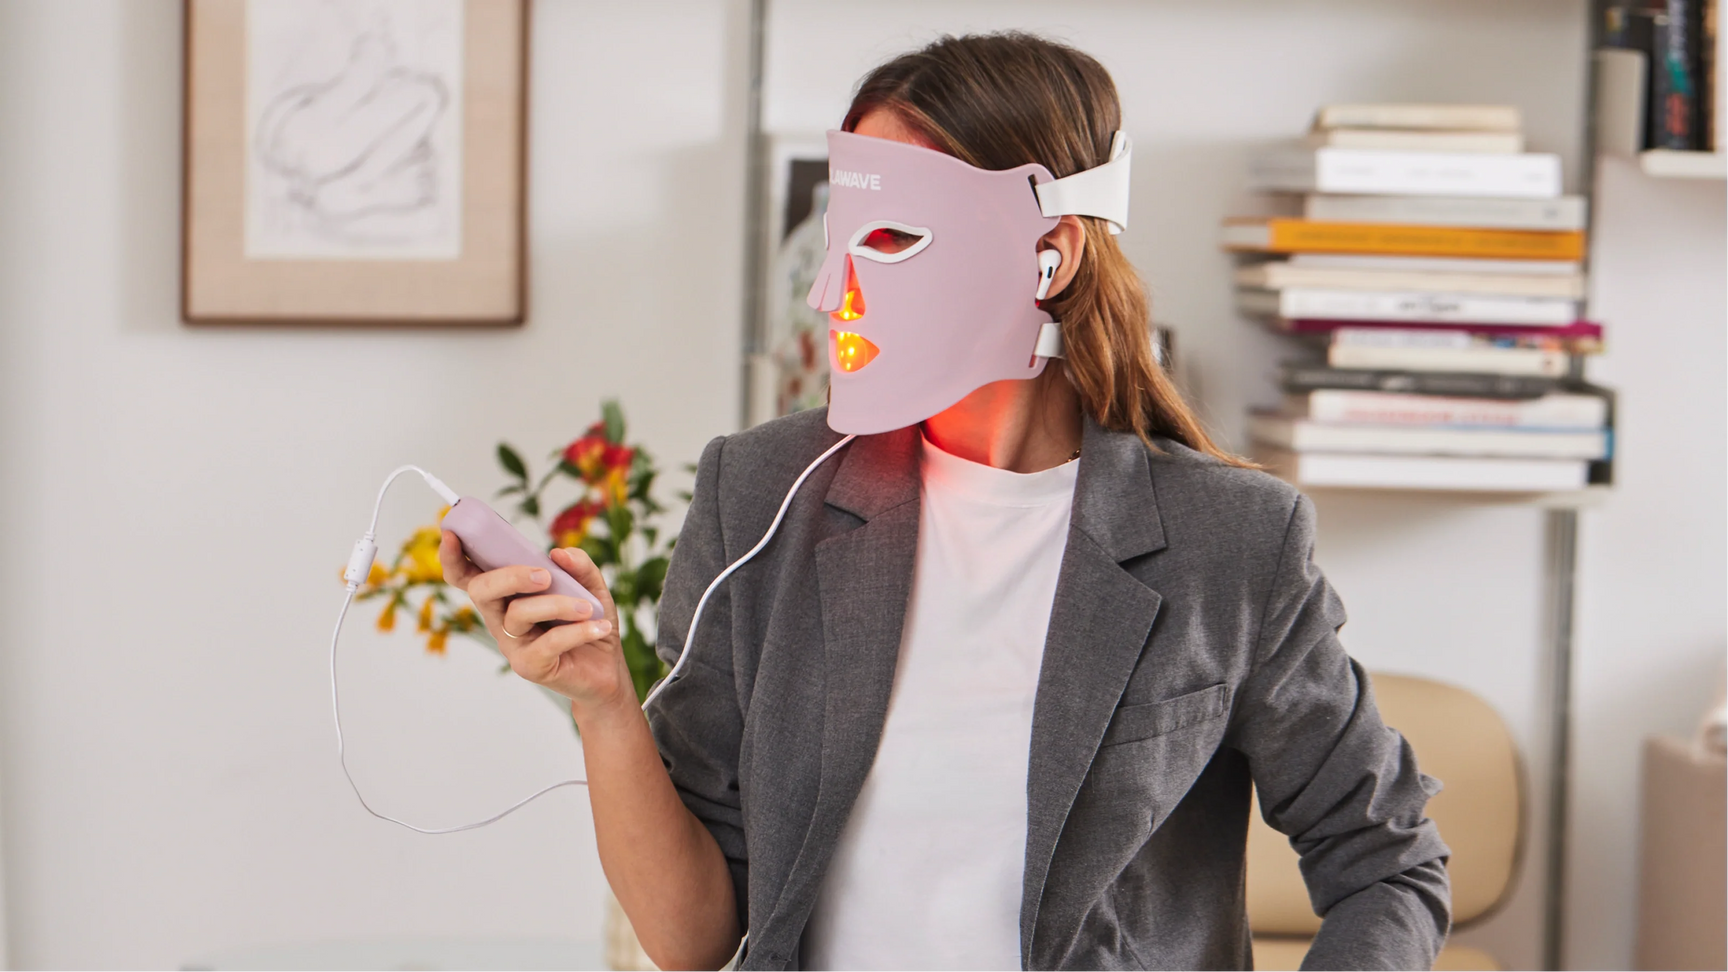
If you have ever scrolled past striking skincare transformation photos online, you have likely wondered what is realistic. Red light therapy face mask before and after results are everywhere, but distinguishing between clever lighting and genuine progress can be tricky. At-home light therapy offers a non-invasive way to care for your complexion, yet visible changes do not happen overnight.
Understanding how red light therapy works helps set practical expectations for your skincare journey. Solawave designs tools to make professional-style light technology simple and approachable for everyday home routines. In this guide, we walk through realistic timelines, what visible improvements you can expect, and how to track your progress accurately. With consistent use and proper skin prep, you can achieve a visibly refreshed, radiant complexion on your own schedule.
Before diving into timelines, it is essential to understand what red light therapy can and cannot do for your appearance. Social media often showcases dramatic side-by-side images that suggest overnight transformations. In reality, red light therapy delivers gradual, cumulative visual improvements.
At-home LED masks are cosmetic devices designed to improve the look of skin tone, texture, and aging. They do not work like surgical procedures or ablative lasers. Instead of forcing rapid change through controlled damage, light therapy uses gentle wavelengths to support your skin's natural appearance over time.
Quick Answer: Real before-and-after results from an LED face mask appear gradually over 4 to 12 weeks of consistent use. Users typically notice a more radiant, hydrated look first, followed by improvements in the appearance of fine lines and skin texture.
Because the changes build slowly, daily progress can be hard to notice in the mirror. Consistency is the single most important factor in seeing meaningful visual results. Using a mask once every couple of weeks will not yield the improvements seen in clinical test photos. Establishing a steady routine of several sessions per week creates the foundation for visible changes. For more guidance, read how often to use red light therapy.
When evaluating your progress, it helps to know which visual markers to look for. Different aspects of your complexion respond at different rates.
One of the primary reasons people invest in red light therapy is to target signs of aging. Over several weeks of regular use, you may notice that fine lines around the forehead, mouth, and eyes appear softer. Skin often looks plumper and more rested. Deeper wrinkles may not disappear entirely, but their visible depth can look diminished and less harsh in natural daylight. For additional perspective, explore red light therapy for wrinkles.
A dull, tired complexion is often the first thing to improve. Many users report that their skin takes on a subtle, healthy-looking sheen within the first couple of weeks. This refreshed appearance gives the face a rested, luminous quality, making makeup application smoother and skin look vibrant even on bare-face days.
Rough patches, uneven texture, and dry spots can make skin feel coarse. Regular light therapy sessions help support the look of a refined, silky skin surface. As your skin texture appears more uniform, light bounces off your face more evenly, enhancing that sought-after dewy finish.
If your skin is prone to occasional surface redness or mild blemishes, red light therapy helps calm the visible look of irritation. Your overall complexion can look more balanced, even-toned, and steady, with fewer visible flare-ups of surface blotchiness.
Everyone's skin is unique, and individual results will always vary based on age, lifestyle, genetics, and routine consistency. However, most people who stick to a regular schedule follow a similar visual progression.
| Timeframe | Typical Visual Skin Changes | Key Routine Focus |
|---|---|---|
| Weeks 1 to 2 | Subtle boost in radiance, skin looks more rested, makeup applies more smoothly. | Establish consistency, complete patch test, use protective eyewear. |
| Weeks 3 to 6 | Visible texture looks refined, surface redness appears calmer, tone looks more even. | Maintain 3 to 5 sessions weekly, hydrate thoroughly with serums. |
| Weeks 8 to 12 | The appearance of fine lines softens, skin looks visibly firmer and more plump. | Continue regular sessions, take comparison progress photos. |
| Beyond 12 Weeks | Sustained cosmetic improvements, lasting healthy-looking glow and smooth texture. | Transition to steady maintenance sessions 3 to 5 times per week. |
During the first two weeks, changes are subtle. You should not expect fine lines to vanish right away. Instead, look for an overall refreshed appearance. Many people notice their skin looks less fatigued in the morning. Your complexion may feel slightly more supple, and liquid foundation or tinted moisturizer may sit more evenly on your skin.
By the first month, the cumulative effects of regular sessions start becoming apparent. You may observe that the look of uneven skin tone begins to balance out. Areas that previously looked blotchy or prone to surface redness often appear calmer. Skin texture feels softer to the touch, and minor textural bumps look less pronounced under overhead lighting.
Between two and three months of dedicated use, the most rewarding visual shifts generally take shape. Fine lines around the crow's feet area and smile lines often look softer and less noticeable. The skin on the cheeks and jawline can take on a visibly firmer, more toned appearance. This is the stage where side-by-side photos typically show clear, distinct differences in overall skin quality.
Key Takeaway: Meaningful changes in the appearance of fine lines and skin firmness take at least 8 to 12 weeks of regular sessions. Patience and routine adherence are essential.
Not all light therapy devices deliver the same light profile. The most effective at-home face masks utilize multiple targeted wavelengths of light to address various cosmetic concerns simultaneously.
Light therapy works by exposing the surface of the skin to specific, non-damaging bands of the light spectrum. Unlike ultraviolet rays from the sun, these cosmetic wavelengths contain no harmful UV radiation and do not cause tanning or sunburns.
| Wavelength | Color Band | Visible Skincare Benefits |
|---|---|---|
| Amber (~605nm) | Amber Light | Promotes a luminous, radiant, glowing complexion. |
| Red (~630nm) | Red Light | Helps skin look more even and targets the appearance of surface redness. |
| Deep Red (~660nm) | Deep Red Light | Part of a multi-wavelength approach to target the look of aging skin. |
| Near-Infrared (~830nm) | Invisible NIR Light | Helps skin look visibly firmer, refreshed, and well-rested. |
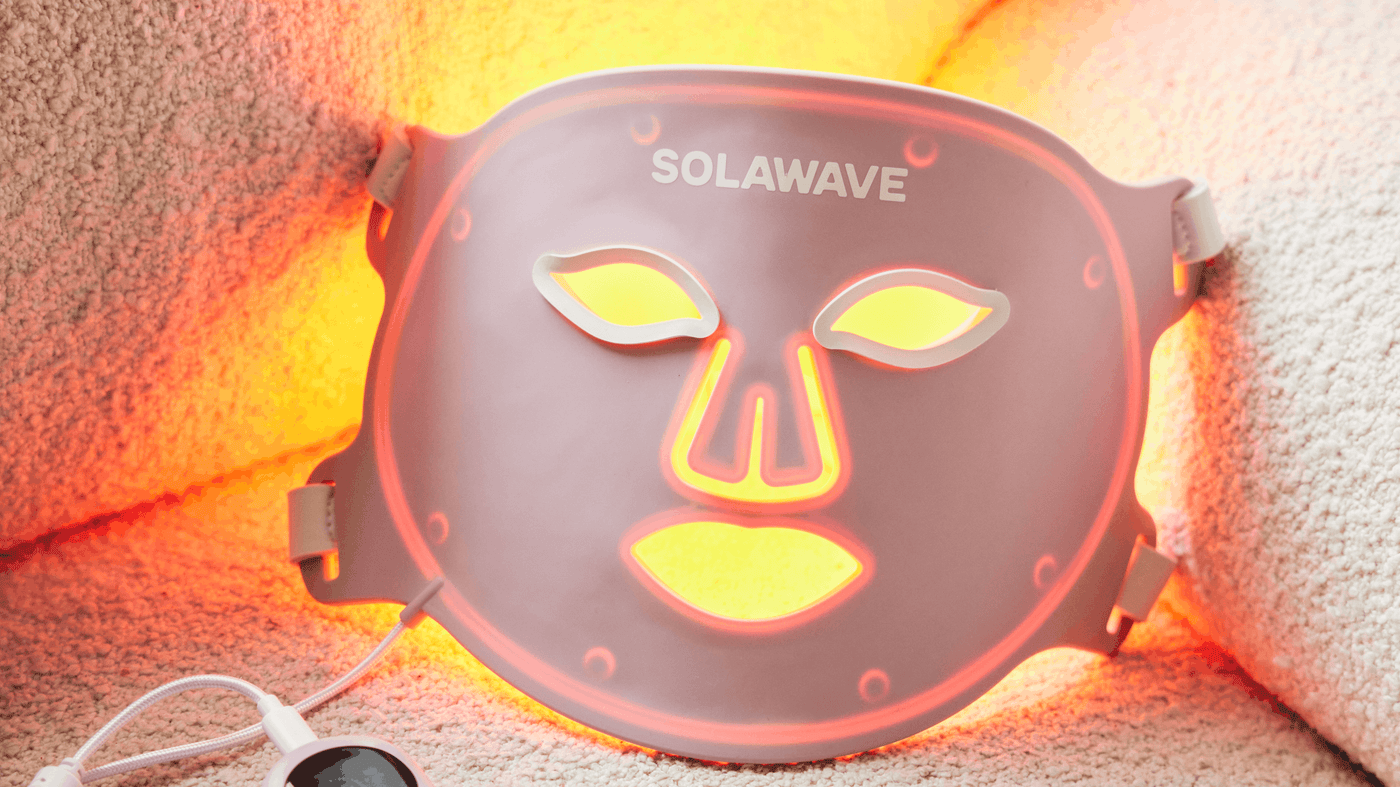
The Wrinkle Retreat Pro LED Face Mask combines all four of these distinct wavelengths across 320 LEDs. By delivering amber, red, deep red, and near-infrared light in every quick 3-minute session, it provides comprehensive coverage designed to enhance overall facial radiance and smooth the look of fine lines.
To get the best possible before-and-after results from your light therapy mask, your skin prep and aftercare routine matter. Applying light to a properly prepped face ensures optimal light delivery without barriers.
Always begin with clean skin free of makeup, daily grime, and mineral sunscreen. Sunscreen filters and heavy pigments can reflect or block the light wavelengths from reaching your skin surface. Squeeze a small amount of Pre- & Probiotic Hydrating Gel Cleanser into wet hands, work into a lather, and massage over your face for 30 to 60 seconds. Rinse with lukewarm water and pat dry.
Some topicals work harmoniously with light therapy to enhance hydration and support skin suppleness. If you are using LightBoost Face & Neck Serum, apply a generous layer over your face and neck before your session.
Follow with LightBoost Face & Neck Rich Cream if your skin needs extra moisture.
Allow all applied topicals to absorb fully into the skin before putting on your device. Never use thick, opaque ointments, heavy oils, or physical sunscreens before a light session, as these can scatter light rays.
Eye safety is paramount during any light therapy session. Ensure the supplied protective eyewear is properly installed on your mask. The Wrinkle Retreat Pro LED Face Mask requires the use of protective goggles for every single treatment. Secure the adjustable straps so the mask sits comfortably and evenly against your facial contours.
Press and hold the remote power button until the LEDs illuminate. Relax for the pre-programmed 3-minute session. The device features an automatic shut-off function, so it will turn off as soon as the session ends.
After taking off your mask, you can proceed with the rest of your daily skincare routine. If you did your session in the morning, finish with your favorite broad-spectrum sunscreen. If you completed your session at night, you can lock in hydration with your regular evening moisturizer.
For additional preparation and routine guidance, read how to use red light therapy at home.
While a full-face mask provides comprehensive coverage, you might also have specific areas that require dedicated care. Building a coordinated routine allows you to target different parts of your face and body effectively.
The skin around the eyes is exceptionally thin and often shows the earliest signs of fatigue and aging. The Radiant Renewal Eye Recovery Pro is an FDA-cleared device featuring 80 LEDs that deliver red, deep red, amber, and near-infrared wavelengths.
To use it, apply a pea-sized amount of LightBoost Eye Cream around the clean eye area first, tapping it in gently until fully absorbed. Install the required protective eyewear, secure the mask, and run the 3-minute session 3 to 5 times per week.
If you prefer a portable, hands-on tool that combines multiple beauty technologies, the 4-in-1 Skincare Wand offers an exceptional option. This FDA-cleared wand brings together 630nm red light therapy, gentle therapeutic warmth, soothing facial massage, and galvanic current.
Always apply a generous layer of LightBoost Wand Activating Serum to clean skin first. Solawave recommends this serum for optimal Wand performance, skin contact, and glide. Move the wand in slow, upward and outward strokes for 3 minutes per treatment area, up to 12 minutes total per session, 3 to 5 times weekly.
The neck and chest are frequently exposed to environmental stressors and can show visual crepiness over time. The Neck & Chest Pro Light Therapy Mask is designed specifically for these areas, utilizing 320 LEDs across amber, red, deep red, and near-infrared wavelengths.
Apply LightBoost Face & Neck Serum and LightBoost Face & Neck Rich Cream to clean skin, allow them to absorb completely, and run the 3-minute session 3 to 5 times per week to help the décolletage look smoother and more refreshed.
If you have been using a light therapy mask for several weeks without noticing visual shifts, you may be making a few common missteps. Correcting these routine habits can quickly get your progress back on track.
Common Pitfalls to Avoid:
1. Inconsistent usage (skipping multiple weeks at a time)
2. Wearing thick, light-blocking creams or SPF during sessions
3. Skipping eye protection during mask treatments
4. Expecting professional in-office laser results overnight
5. Giving up before reaching the 8-to-12-week consistency mark
Pro Tip: Keep your light therapy mask on your nightstand or next to your bathroom mirror. Having your device visible makes it easy to complete your 3-minute session while reading or unwinding.
For more cleaning guidance, read how to clean a red light therapy mask.
Light therapy is non-invasive, gentle, and well-tolerated by most people, but safety guidelines should always be followed to ensure the best experience.
At-home light therapy devices from Solawave are intended for cosmetic use by healthy adults aged 18 and older. Always perform a light-sensitivity patch test on an inconspicuous area, such as your inner forearm, before your first full facial session. Wait several hours to ensure no unusual redness or sensitivity occurs.
Certain individuals should seek professional medical advice before introducing light therapy to their regimen:
Always remember that protective eyewear is mandatory when using full-face and eye LED masks. Never look directly into illuminated LEDs without the supplied goggles properly attached.
For more routine precautions, read red light therapy tips for sensitive skin.
Tracking your own progress at home is the best way to see the real effects of your skincare investment. Because visual changes happen gradually, our eyes get used to our reflection, making day-to-day improvements hard to spot without photo evidence.
Follow these simple rules to capture honest, comparable progress photos:
Comparing your photos side by side at week 8 and week 12 will give you an objective, clear picture of your personal skincare results.
An LED mask works best when paired with a supportive daily skincare routine. Light therapy and high-performance topical products complement each other, working together to keep skin hydrated, supple, and radiant.
Recommended Daily Skincare Order:
1. Pre- & Probiotic Hydrating Gel Cleanser
2. Pre- & Probiotic Refreshing Jelly Mist
3. Pre- & Probiotic Plumping Peptide Serum
4. Pre- & Probiotic Nourishing Moisturizer
5. Broad-spectrum SPF (daytime)
For general skin barrier care, the Solabiome four-step system provides balanced daily hydration. Begin with the Pre- & Probiotic Hydrating Gel Cleanser, follow with a sweep of Pre- & Probiotic Refreshing Jelly Mist, apply a few drops of Pre- & Probiotic Plumping Peptide Serum, and finish with Pre- & Probiotic Nourishing Moisturizer.
On days when your skin feels particularly parched, you can incorporate a Hydrating Sheet Mask for 10 to 20 minutes after cleansing. These hydrating steps create a nourished foundation that helps your skin look its absolute best alongside regular light therapy sessions.
Real before-and-after results from a red light therapy face mask reflect consistency, proper skin prep, and realistic expectations. While social media often promises overnight miracles, true cosmetic improvement develops over 4 to 12 weeks of steady use. By supporting your skin with multi-wavelength light therapy, you can enjoy a visibly smoother, firmer, and more radiant complexion without stepping into a clinic.
Bottom line: At-home red light therapy delivers genuine, visible improvements to skin tone, texture, and radiance when paired with consistent weekly use.
Ready to start your own transformation? Explore the Wrinkle Retreat Pro LED Face Mask to bring professional-style light therapy into your home routine, or take the skin quiz to find the perfect device for your personal skincare goals.
Most people notice an initial boost in skin radiance and a more rested appearance within 2 to 4 weeks of consistent use. Meaningful visual changes in the appearance of fine lines, skin texture, and firmness generally take between 8 and 12 weeks. Consistency is key, with recommended usage of 3 to 5 times per week.
No at-home cosmetic device can completely eliminate deep-set wrinkles or replace surgical cosmetic procedures. However, regular red light therapy helps soften the visible depth of lines and supports a plumper, smoother-looking facial appearance. Consistent use helps your complexion maintain a more youthful and refreshed look over time.
Always start with clean skin free of makeup, heavy oils, and sunscreen. If you wish to pair your session with topicals, apply a compatible product like LightBoost Face & Neck Serum and allow it to fully absorb into your skin before starting the treatment. Avoid thick, opaque creams or mineral SPF products before your session, as they can block light penetration.
The visible benefits achieved from an LED face mask are not permanent if you stop using the device completely. Skin naturally continues to age and experience environmental exposure over time. To maintain your smooth, radiant-looking results, continue using your mask for regular maintenance sessions 3 to 5 times per week.
The statements on this website have not been evaluated by the FDA. The information provided on this site is not intended to diagnose, treat, cure, or prevent any disease and should not be construed as medical advice. Results may not be typical.
 Skincare Devices
 Skincare Devices