How to Use Red Light Therapy on Your Face

Learn how to use red light therapy on your face with our expert guide. Discover prep tips, session timing, and the best skincare for a radiant glow.

Published Updated at Solawave Team
How to Use Red Light Therapy on Your Face

Introduction

If you recently brought home a red light device or want to add one to your skincare regimen, knowing where to start can feel overwhelming. Figuring out whether your skin should be bare, which serums play nicely with LED wavelengths, and how many minutes to log each week are common hurdles. Modern skincare technology makes it easy to target the look of fine lines, dull tone, and uneven texture right from your vanity. Solawave designs tools that fit seamlessly into everyday life, offering an accessible way to support a radiant complexion at home. This guide breaks down the essential steps for facial red light sessions, proper skincare layering, device techniques, and safety protocols. With a clear routine and consistent habits, you can easily integrate light therapy into your schedule for refreshed, healthy-looking skin.

Quick Answer: To use red light therapy on your face, start with freshly cleansed, dry skin. Apply compatible water-based serums if your device instructions recommend them, secure any required protective eyewear, and run your device for its designated session time, typically 3 to 12 minutes, 3 to 5 times per week. Finish with a nourishing moisturizer to lock in hydration.

For additional guidance, read this step-by-step guide to using red light therapy at home.

Understanding Facial Red Light Therapy

Red light therapy uses specific visible and invisible wavelengths of light to support the skin's overall appearance. Unlike ultraviolet rays from the sun, cosmetic LED light is non-ionizing and does not cause sun damage. Instead, these gentle wavelengths deliver targeted light energy to the surface of your complexion.

For more information about how red light therapy works, explore Solawave's science and technology guide.

When applied to facial skin, light therapy helps address several visible aesthetic concerns:

  • Fine lines and facial wrinkles: Light exposure helps skin look visibly smoother and plumper over time.
  • Uneven tone and texture: Regular sessions encourage a more balanced, radiant complexion.
  • The appearance of redness: Targeted wavelengths help calm the look of facial flushing and surface irritation.
  • Loss of visible firmness: Multi-wavelength approaches support a toned, refreshed appearance across the cheeks, jawline, and forehead.

Core Cosmetic Wavelengths

Different wavelengths reach varying depths of the skin's upper layers. High-performing facial devices often combine several spectrums to deliver multi-layered cosmetic benefits:

Wavelength Type Approximate Range Visible Cosmetic Focus
Amber Light ~605 nm Helps promote a radiant, glowing complexion and revitalizes dull-looking skin.
Red Light ~630 nm Widely used to help even out skin tone and improve the appearance of fine lines.
Deep Red Light ~660 nm Supports a refreshed, supple appearance as part of a comprehensive routine for aging skin.
Near-Infrared Light ~830 nm Invisible to the eye, this spectrum helps support the look of firmer, rested facial contours.

Step-by-Step: Preparing Your Face for a Session

Proper skin preparation makes a substantial difference in the comfort and visual results of your light therapy session. Following a clean, methodical preparation sequence ensures your skin receives light evenly.

Step 1: Thorough Cleansing

Always start with clean skin. Makeup, mineral sunscreens, heavy oils, and daily grime can reflect or scatter light, reducing the amount of light energy that reaches your skin.

Use a gentle formula like the Pre- & Probiotic Hydrating Gel Cleanser to wash away impurities without stripping your skin barrier. Work a small amount into wet hands, lather, and gently massage over your face for 30 to 60 seconds. Rinse thoroughly with lukewarm water.

Step 2: Dry Your Face Completely

Pat your skin dry with a clean, soft washcloth. Avoid rubbing, which can create unnecessary surface friction. Water droplets on the skin can refract light beams, so ensure your face is fully dry before moving forward. If you use a balancing mist as part of your prep, such as the Pre- & Probiotic Refreshing Jelly Mist, spritz lightly and allow it to absorb fully.

Step 3: Apply Compatible Prep Topicals

The question of whether to apply skincare before or after red light therapy depends entirely on the specific device you use.

  • For full-face LED masks: Clean, dry skin is standard. However, specially formulated topicals like the LightBoost Face & Neck Serum and LightBoost Face & Neck Rich Cream are designed to be applied before your session. If you use both, layer the serum first, follow with the cream, and allow both to absorb completely before putting on your mask.
  • For targeted facial wands: Wand devices rely on smooth glide and electrical conductivity for their complementary features. Solawave recommends applying a generous layer of LightBoost Wand Activating Serum to the target area first for optimal wand performance, skin contact, and glide.
  • For under-eye devices: Tap a pea-sized amount of LightBoost Eye Cream into clean under-eye skin and let it sink in fully before securing the device.
  • For targeted spot treatments: Acne-focused spot devices must always be placed directly onto bare, clean, completely dry skin free of all topicals.

Pro Tip: If you are using general active skincare like retinoids, exfoliating acids, or heavy oil-based balms, save those for after your light therapy session. Thick occlusive layers can block light, while exfoliating acids are best applied after your skin has rested post-treatment.

How to Use Different Facial Red Light Devices

At-home red light therapy comes in several form factors, ranging from wearable full-face masks to handheld wands and compact spot devices. Each tool features a distinct protocol.

Full-Face LED Masks

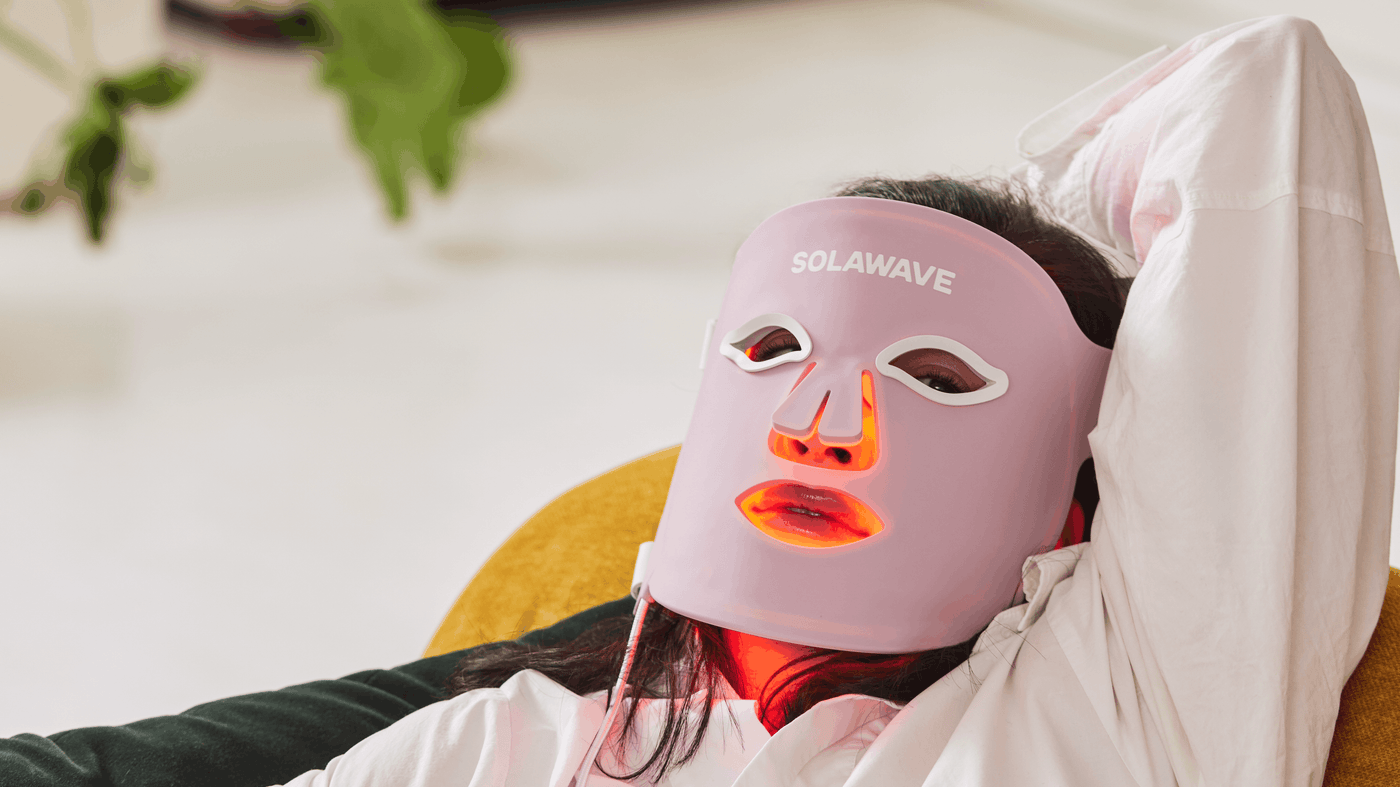
Full-face masks offer hands-free, uniform light coverage across the entire face, making them a popular option for overall skin rejuvenation.

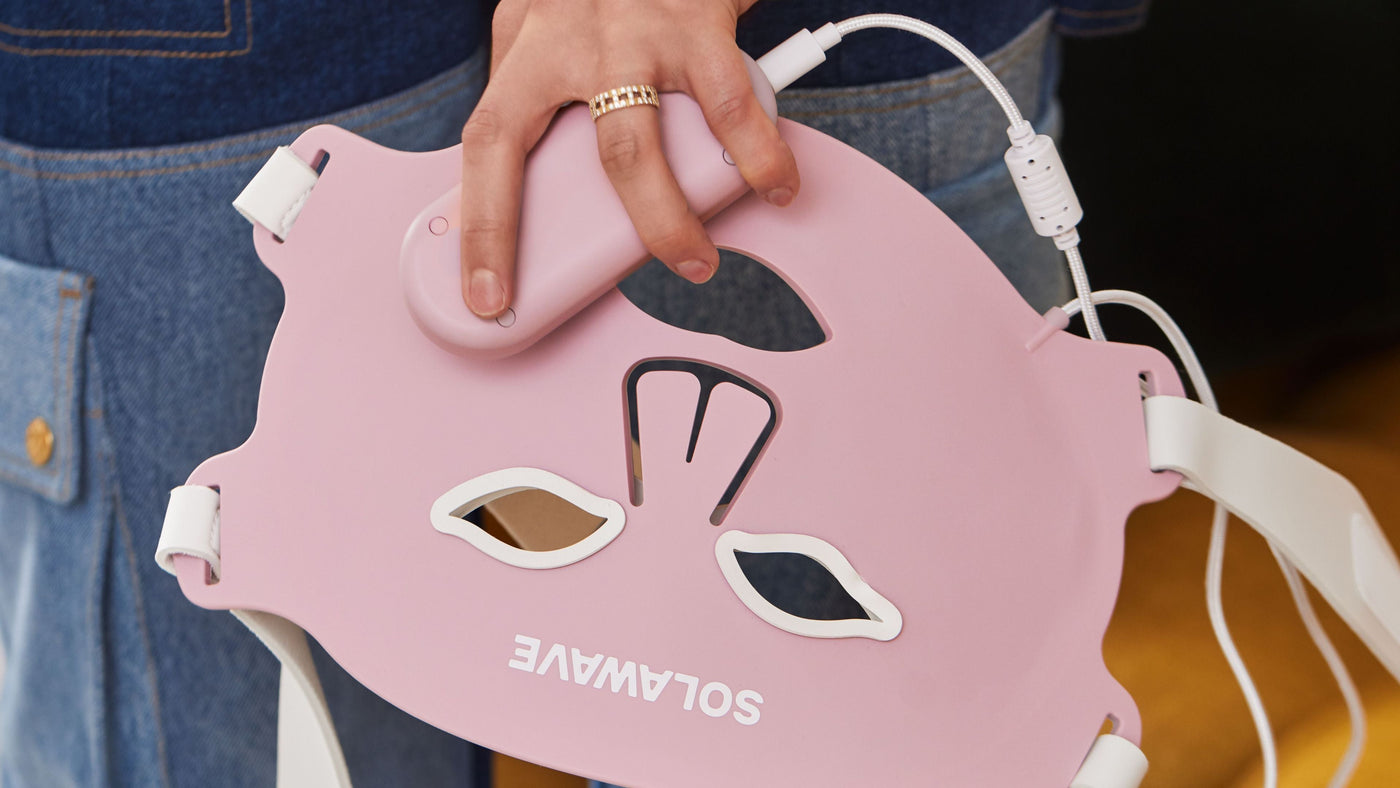
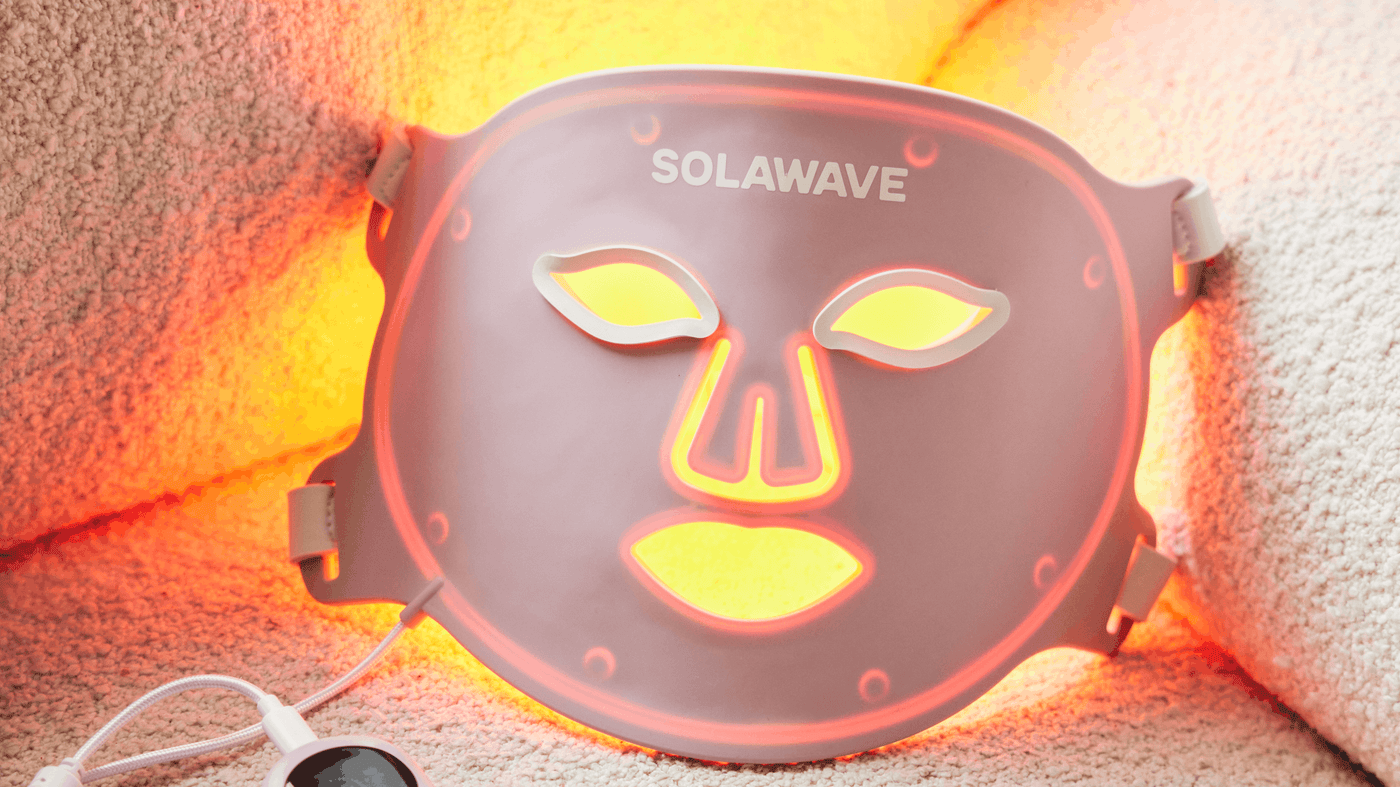
The Wrinkle Retreat Pro LED Face Mask is an FDA-cleared device featuring 320 LEDs that deliver Amber (605nm), Red (630nm), Deep Red (660nm), and Near-Infrared (830nm) light simultaneously.

  1. Prep: Cleanse your face. If using compatible LightBoost serums or creams, apply them and allow full absorption.
  2. Protect: Properly install the supplied protective eyewear. Eye protection is required for every single session.
  3. Position: Place the mask over your face and secure the adjustable head straps for a snug, comfortable fit.
  4. Session: Press and hold the power button on the remote until the lights activate. Relax for the 3-minute treatment. The device turns off automatically after 3 minutes.
  5. Frequency: Use for 3 minutes per session, 3 to 5 times per week, with a maximum of one session per day. Solawave recommends maintaining this routine for at least 4 weeks for noticeable visual benefits.

Multi-Technology Handheld Wands

Handheld wands allow you to focus manually on specific facial contours, such as the jawline, cheeks, under-eye area, and forehead.

The 4-in-1 Skincare Wand combines Red Light Therapy (630nm) with galvanic current, facial massage, and therapeutic warmth. It features 14 LEDs powered by 7 dual-core chips and is FDA-cleared.

  1. Prep: Begin with clean, dry skin. Apply a generous layer of LightBoost Wand Activating Serum to your first treatment area.
  2. Activate: Turn the wand on and place the head against your skin.
  3. Glide: Move the wand in slow, gentle, upward and outward motions with light pressure. Spend 3 minutes on each facial zone, reapplying serum as you move to new areas to maintain smooth contact.
  4. Complete: Cover up to four zones for a total of 12 minutes. The device shuts off automatically at the 12-minute mark.
  5. Frequency: Perform your wand routine 3 to 5 times per week. Massage any leftover activating serum into your skin after you finish.

For more scheduling guidance, read how often to use red light therapy.

Under-Eye Light Masks

The skin around the eyes is exceptionally delicate and often shows the earliest visible signs of fatigue, fine lines, and puffiness.

The Radiant Renewal Eye Recovery Pro is an FDA-cleared wearable eye mask that utilizes 80 LEDs across Amber (605nm), Red (630nm), Deep Red (660nm), and Near-Infrared (830nm) wavelengths.

  1. Prep: Cleanse your skin thoroughly. Gently tap a pea-sized amount of LightBoost Eye Cream around the orbital bone and let it absorb completely.
  2. Protect and Secure: Ensure the supplied protective eyewear is properly installed. Position the device over your eye area and adjust the strap.
  3. Treat: Press and hold the power button to start the 3-minute session.
  4. Frequency: Use 3 minutes per session, 3 to 5 times weekly, no more than once daily, for at least 4 weeks.

Compact Face and Body Devices

For those who travel often or want flexible coverage for small facial areas and body spots, compact handheld devices offer versatile care.

The 2-in-1 Skincare Mini is an FDA-cleared device combining Red Light (630nm), Near-Infrared Light (830nm), and therapeutic warmth across 9 dual-core LEDs.

  1. Prep: Ensure skin is clean, dry, and free of makeup or sunscreen.
  2. Operate: Pop out the comfort grip, turn the unit on, and glide over the target zone using slow, circular motions.
  3. Timing: Spend 3 minutes per area, up to 12 minutes total across your desired zones, once per day per area.
  4. Frequency: Use 3 to 5 times per week for at least 4 weeks. Note that the Mini should not be used on the delicate eye area or temples.

Targeted Blemish Spot Treatments

When targeting localized blemishes and surface redness, targeted spot tools provide concentrated dual-light support.

The Bye Acne: 3-Minute Pimple Spot Treatment is an FDA-cleared acne device combining Blue Light (415nm) and Red Light (630nm). Blue light targets the look of blemishes, while red light helps calm the appearance of surrounding redness.

  1. Prep: Wash and thoroughly dry the skin. Do not apply any topicals, serums, or lotions beforehand.
  2. Position: Place the device directly over the breakout.
  3. Treat: Turn the unit on and hold it gently in place until the 3-minute cycle automatically finishes.
  4. Frequency: Solawave recommends using the device once per day per affected spot. Do not exceed one session per day on the same spot.

Daily and Weekly Scheduling Guide

Building a sustainable routine comes down to timing and consistency. Red light therapy does not deliver instant overnight transformations. Visible improvements in skin smoothness, tone, and radiance emerge gradually through steady, repeated sessions.

Morning vs. Evening Sessions

You can use red light therapy in the morning or at night depending on your lifestyle preferences:

  • Morning Routines: Morning sessions can help refresh the look of your complexion and reduce morning puffiness through gentle warmth and massage. Follow your session with daily hydration and a broad-spectrum sunscreen.
  • Evening Routines: Evening sessions serve as a calming self-care ritual. Applying your light therapy before your evening serums and night creams allows your skin to rest overnight while fully hydrated.
  • Blue Light Timing: If you use a device that incorporates blue light, such as Bye Acne, consider running sessions in the morning or afternoon, as blue wavelengths can disrupt your natural sleep rhythm if used directly before bed.

Recommended Usage Schedule

Device Type Session Length Weekly Frequency Best Routine Step
Full-Face Mask 3 minutes 3–5 days per week After cleansing; before or after compatible LightBoost care
4-in-1 Wand 3 mins/zone (12 mins max) 3–5 days per week After cleansing; paired with Wand Activating Serum
Eye Recovery Mask 3 minutes 3–5 days per week After cleansing; paired with LightBoost Eye Cream
2-in-1 Mini 3 mins/zone (12 mins max) 3–5 days per week On clean, bare skin
Blemish Spot Device 3 minutes per spot Once daily per spot On clean, bare, dry skin

Skincare Layering: What to Apply Before and After

Maximizing the visible benefits of your light therapy involves pairing it with a thoughtful topical skincare routine. Water-based hydration supports light transmission, while nourishing creams seal in moisture once your session concludes.

The Four-Step Daily Sequence

For daily skincare maintenance alongside your light routine, the Solabiome Glowing Skin Starter Kit offers an intuitive structure:

  1. Cleanse: Use the Pre- & Probiotic Hydrating Gel Cleanser morning and evening to wash away debris and excess oil.
  2. Tone and Refresh: Spritz the Pre- & Probiotic Refreshing Jelly Mist from 6 to 8 inches away to hydrate and prime the complexion.
  3. Hydrate: Press a few drops of Pre- & Probiotic Plumping Peptide Serum into your face and neck to support a supple, dewy look.
  4. Moisturize: Smooth Pre- & Probiotic Nourishing Moisturizer over the face and neck using upward strokes to lock in softness and support the skin barrier.

Integrating LightBoost Topicals

LightBoost formulas are specifically crafted to complement light therapy devices:

  • During Wand Treatments: Smooth LightBoost Wand Activating Serum across your treatment zones before gliding the wand. If you also use the LightBoost Face & Neck Serum, finish your wand session first, pat in remaining activating serum, and then apply the Face & Neck Serum.
  • Before Mask Treatments: Apply LightBoost Face & Neck Serum followed by LightBoost Face & Neck Rich Cream. Allow both formulas to fully absorb into the skin before securing your Wrinkle Retreat Pro mask.
  • Under-Eye Prep: Tap LightBoost Eye Cream into clean skin prior to using the Radiant Renewal Eye Recovery Pro to keep the under-eye area supple.

Weekly Sheet Mask Ritual

When your skin feels particularly dry or depleted, you can incorporate a Hydrating Sheet Mask 1 to 2 times weekly. Apply the water-gel mask to a freshly cleansed face, leave on for 10 to 20 minutes, remove, and massage the leftover nutrient-rich serum into your skin without rinsing. You can then finish with your standard moisturizer.

Essential Safety Protocols and Best Practices

At-home red light therapy devices are engineered to be gentle, painless, and non-invasive. However, respecting usage instructions ensures a safe, comfortable experience.

Eye Safety

Light therapy LEDs are bright. While red and near-infrared light do not emit harmful ultraviolet radiation, direct optical exposure can cause temporary eye strain or discomfort.

  • Always install and wear the supplied protective eyewear when using the Wrinkle Retreat Pro LED Face Mask and Radiant Renewal Eye Recovery Pro. Do not rely solely on closing your eyes.
  • Avoid looking directly into the LEDs of handheld tools or spot devices during operation.

Light-Sensitivity Testing

Before your very first treatment, perform a light sensitivity patch test:

  1. Turn on your device and hold it over a small, less sensitive area of skin, such as your inner forearm or jawline.
  2. Run the device for 3 minutes.
  3. Examine the skin over the next 24 hours. If you notice persistent redness, irritation, or itching, discontinue use and consult a physician.

Contraindications and Precautions

Red light devices are intended for cosmetic use by healthy adults aged 18 and older. Keep the following health considerations in mind:

  • Pregnancy: Do not use light therapy devices if you are pregnant, planning to become pregnant, or breastfeeding, as these devices have not been tested for safety in these circumstances.
  • Medical Conditions: Do not use light devices if you are prone to seizures, have epilepsy, have active cancer or suspicious lesions, or suffer from photosensitive disorders.
  • Medications: If you take prescription drugs known to cause light sensitivity, such as certain antibiotics, retinoids, or diuretics, consult your doctor prior to treatment.
  • Darker Skin Tones: Individuals with Fitzpatrick Skin Types V and VI can be more sensitive to visible light wavelengths. If you are prone to post-inflammatory hyperpigmentation, consult a board-certified dermatologist to establish an appropriate session schedule.
  • Recent Injectables: If you recently received cosmetic injectables, check with your healthcare provider regarding the appropriate waiting window before resuming light therapy and facial massage.

For additional guidance, read these tips for red light therapy and sensitive skin.

Maintaining and Cleaning Your Device

Proper hygiene keeps your skincare tech in peak working condition and prevents buildup that could lead to unwanted breakouts.

  • Turn off before cleaning: Always ensure your device is powered off, unplugged, and not charging before wiping it down.
  • Wiping surfaces: Use a soft, damp cloth, a water-based wipe, or 70% alcohol wipes, such as the Light Therapy Device Cleaning Wipes, to clean the light panel and casing thoroughly after each use.
  • Never submerge: Do not submerge your devices in water or hold them directly under running faucets.
  • Drying: Allow the device to air-dry completely before storing it or starting another session. Store in a clean, dry location, such as a Replacement Carrying Case.
  • Charging: To charge the Radiant Renewal 4-in-1 Wand, attach the Magnetic Charging Cord Replacement to a standard 5V power block or laptop.

Common Mistakes to Avoid

To achieve the best visible outcome from your at-home routine, watch out for these frequent mistakes:

  1. Skipping the Cleanser: Applying light therapy over lingering makeup, mineral powders, or daily sunscreen prevents light wavelengths from reaching your skin evenly.
  2. Inconsistent Use: Logging three sessions one week and skipping the next three will not produce lasting visual improvements. Consistency over 4 to 8 weeks is essential for subtle, cumulative results.
  3. Overusing Your Device: More time does not equal faster results. Exceeding recommended session limits or treating the same spot multiple times a day can lead to temporary surface redness and skin fatigue. Stick to the device timer.
  4. Neglecting Post-Treatment Moisture: While light therapy does not damage your barrier, the gentle warmth can leave skin feeling slightly dry. Always seal in your treatment with a hydrating serum and a nourishing moisturizer.

Conclusion

Using red light therapy on your face is a simple, non-invasive way to support a smoother, more radiant, and refreshed complexion at home. By starting with clean skin, following your device's exact timing protocols, and layering complementary hydration, you create an effortless daily ritual tailored to your skin's unique needs.

  • Always begin with freshly cleansed, dry skin free of makeup and sunscreen.
  • Follow specific device instructions, running sessions for 3 to 12 minutes, 3 to 5 times per week.
  • Wear required protective eyewear during mask treatments and perform a patch test before your first session.
  • Lock in visible results with hydrating serums and rich moisturizers following your light session.

Key Takeaway: Consistent, measured use of red light therapy paired with clean hydration helps skin look visibly firmer, smoother, and luminous over time.

Ready to find the ideal light therapy routine for your specific skin goals? Explore our collection of FDA-cleared light therapy devices or take the skin quiz to match with your at-home skincare tool.

FAQ

Can I use red light therapy on my face every day?

Most facial red light therapy devices, including full-face masks and wands, are designed for use 3 to 5 times per week rather than every day. Using your device more frequently than directed does not speed up visual improvements and may lead to temporary skin sensitivity. Always follow the specific frequency guidelines in your product manual.

Should I put serums on before or after red light therapy?

For standard LED masks, starting with clean, bare skin is common, though compatible water-based topicals like LightBoost Face & Neck Serum may be applied before your session if allowed to absorb fully. If you are using a handheld wand, applying a conductive product like LightBoost Wand Activating Serum before treatment is recommended for optimal glide. Rich oils, heavy creams, and exfoliating acids should always be reserved for after your session.

How long does it take to see visible results from facial red light therapy?

Visible improvements in skin tone, smoothness, and radiance develop gradually over several weeks of consistent use. Most protocols recommend maintaining a steady schedule of 3 to 5 sessions per week for at least 4 to 8 weeks before evaluating visual changes. Results vary from person to person based on skin type, age, and lifestyle habits.

Is red light therapy safe for sensitive facial skin?

Red light therapy is generally gentle and non-invasive, making it suitable for many sensitive skin types. However, if your skin is prone to reactivity or conditions like hyperpigmentation, perform a 3-minute patch test on your arm or jawline first and wait 24 hours. If you take light-sensitizing medications or have an underlying skin condition, consult a board-certified dermatologist before beginning treatments.

The statements on this website have not been evaluated by the FDA. The information provided on this site is not intended to diagnose, treat, cure, or prevent any disease and should not be construed as medical advice. Results may not be typical.