How to Use Red Light Therapy on Face for Visible Results
Learn how to use red light therapy on face for a radiant glow. Follow our 5-step guide on cleansing, prep, and device timing for visible results.
Introduction
Adding red light therapy to your skincare routine is one of the most effective ways to support a refreshed, luminous complexion at home. Whether you want to soften the look of fine lines, even out skin tone, or calm the appearance of redness, using your device properly ensures you get the best possible cosmetic outcome. Getting started can feel slightly confusing with so many device styles, wavelength options, and topical pairing rules available. Solawave designs intuitive light therapy tools and compatible skincare to make at-home sessions straightforward, gentle, and relaxing. This guide walks you through every step of using red light therapy on your face, from pre-session cleansing to post-treatment hydration. With the right technique and steady consistency, you can easily build a facial routine that leaves your skin looking smooth, radiant, and revitalized.
How Facial Red Light Therapy Works for Your Complexion
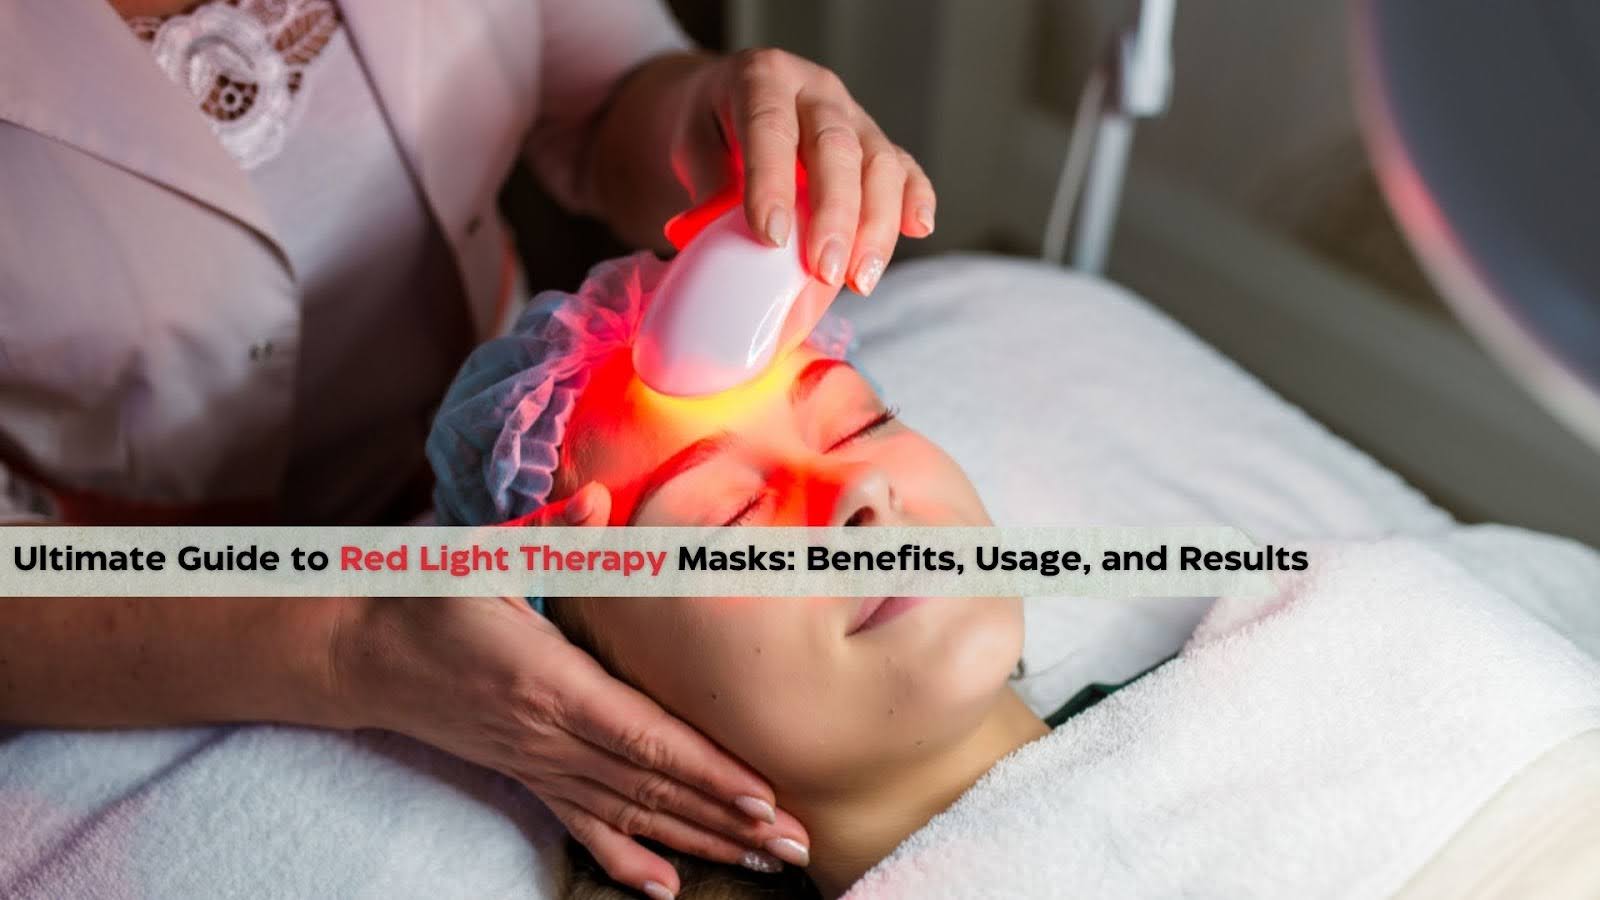
Red light therapy uses specific, non-invasive wavelengths of visible and near-infrared light to target the visible signs of aging and skin stress. Unlike ultraviolet rays from the sun, cosmetic light therapy does not tan or burn the skin. Instead, these calibrated wavelengths gently bathe the surface of your face to help skin look firmer, smoother, and more refreshed over time. For more background, explore how red light therapy works.
Different wavelengths target different visual aspects of your skin. For example, red light around 630 nanometers is widely used in cosmetic skincare to help skin look more even and target the look of surface redness. Near-infrared light around 830 nanometers is invisible to the human eye, but it is frequently incorporated into facial devices to support a firmer, well-rested appearance. Multi-wavelength devices combine these with amber or deep red light to provide comprehensive visual rejuvenation.
| Wavelength | Color Range | Cosmetic Focus |
|---|---|---|
| 605 nm | Amber Light | Supports a radiant, glowing complexion and skin clarity |
| 630 nm | Red Light | Helps even skin tone and calms the look of redness |
| 660 nm | Deep Red Light | Addresses the appearance of fine lines and surface texture |
| 830 nm | Near-Infrared | Helps skin look visibly firmer, supple, and refreshed |
Quick Answer: To use red light therapy on your face, start with clean, dry skin. Apply compatible water-based serums if your device permits, put on required eye protection, run your session for the recommended 3 to 12 minutes depending on your device type, and finish with a nourishing moisturizer.
Light Therapy Devices
Choosing the Right Device Format for Your Routine
At-home facial light therapy devices generally fall into three distinct categories: full-face wearable masks, multi-benefit handheld wands, and compact spot devices. Choosing the right format depends on your primary skincare goals and how much time you want to spend on your ritual.
Full-Face LED Masks
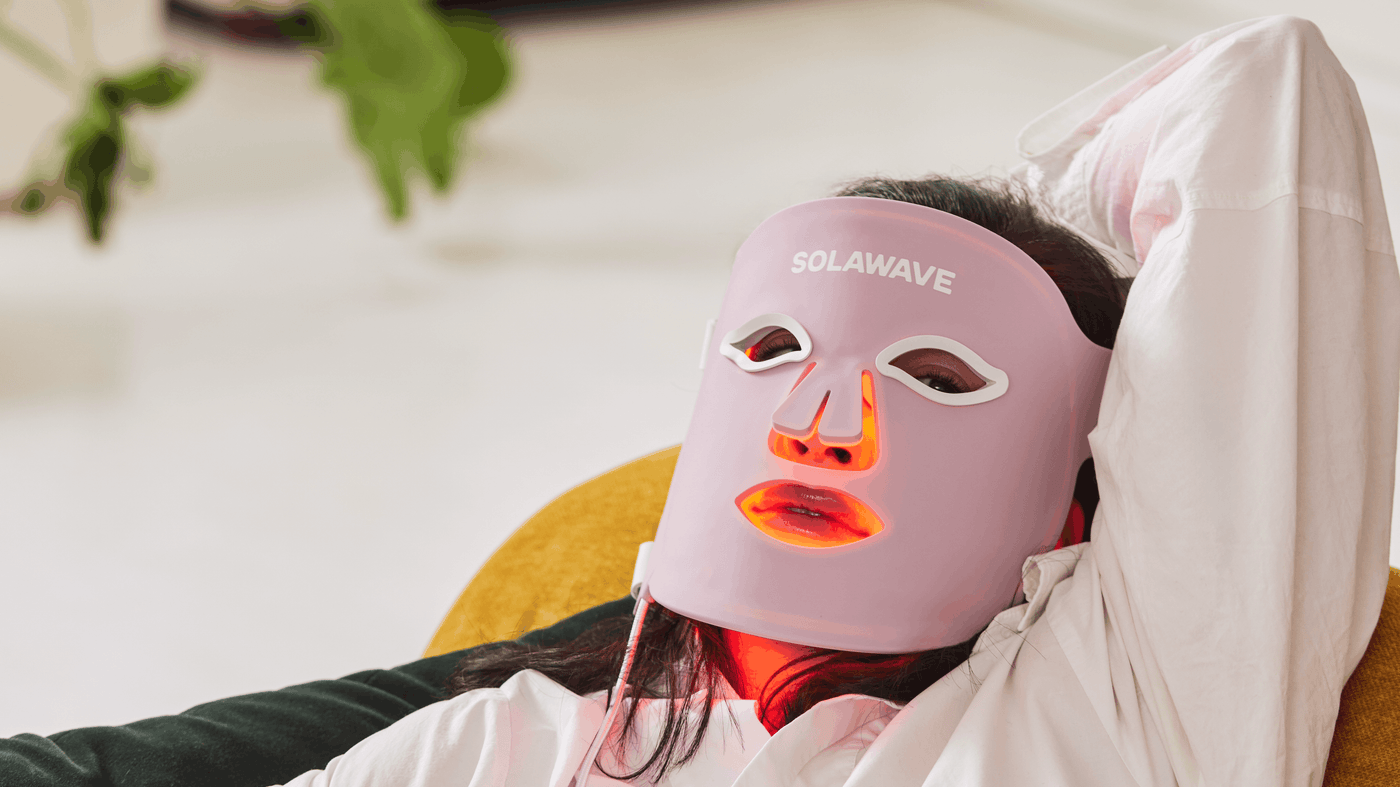
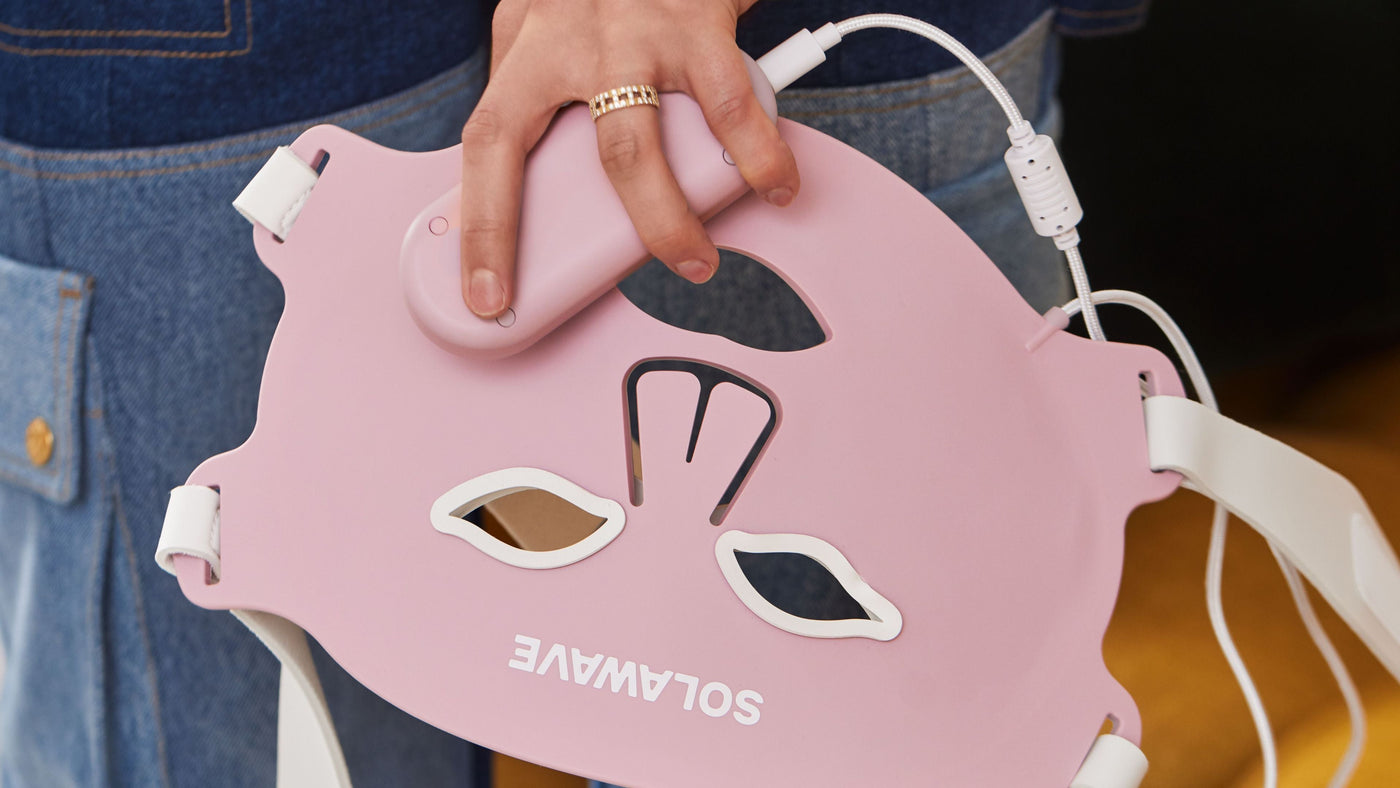
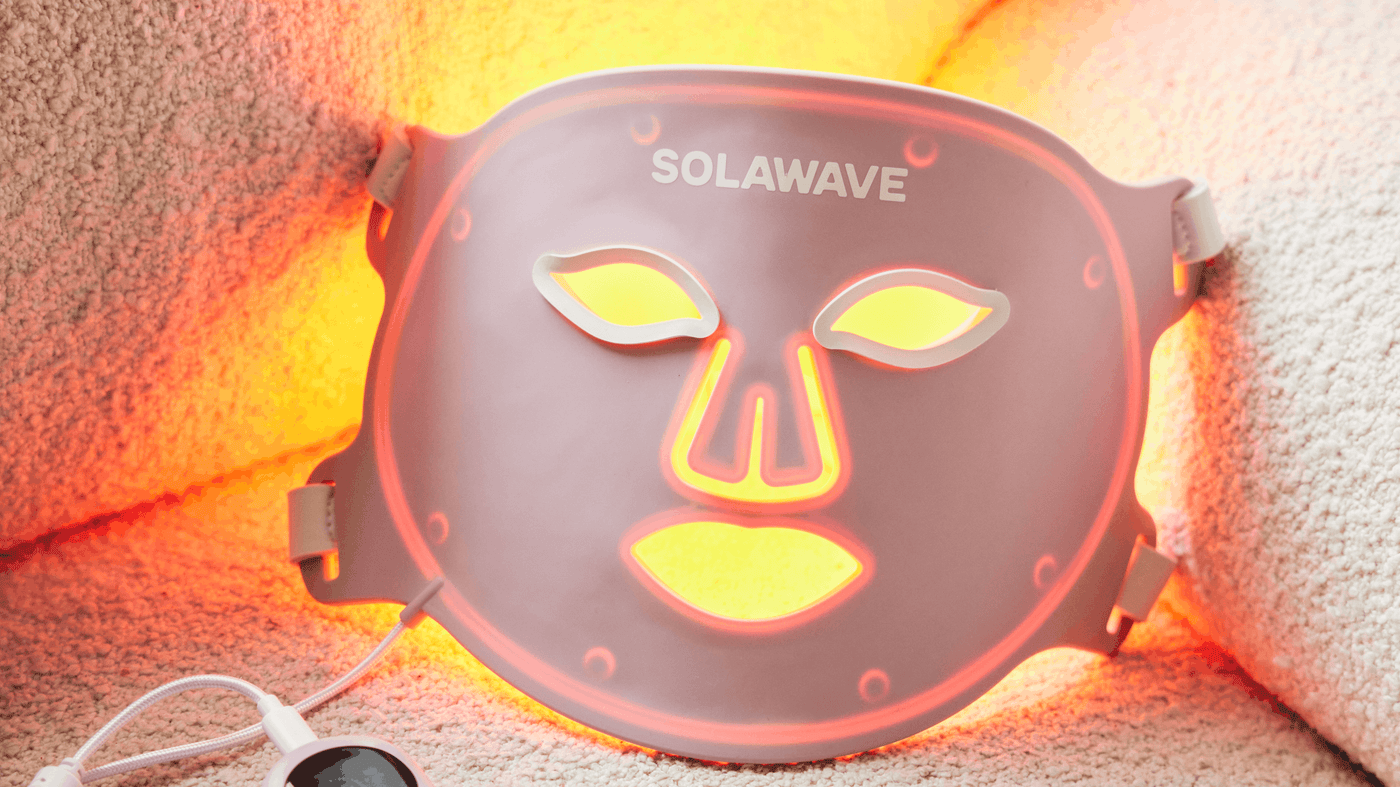
Wearable masks offer full-coverage, hands-free treatment across your entire complexion. The Wrinkle Retreat Pro LED Face Mask delivers four distinct wavelengths across 320 LEDs in a quick 3-minute session. This style is ideal if you want an effortless, all-over treatment that targets the appearance of fine lines, wrinkles, and uneven tone simultaneously while you sit back and relax.
Multi-Functional Handheld Wands
Handheld tools allow you to deliver concentrated light to specific facial zones while combining light with other skincare technologies. The 4-in-1 Skincare Wand combines 630nm red light therapy with gentle galvanic current, soothing facial massage, and therapeutic warmth. This format is perfect for targeting stubborn areas like the forehead, cheekbones, jawline, and under-eye area in focused 3-minute segments per zone.
Targeted Spot and Mini Devices
If you want portable options for travel or specific spot concerns, smaller devices provide convenient flexibility. The 2-in-1 Skincare Mini pairs red light and near-infrared light with warmth for the face and body.
The Bye Acne: 3-Minute Pimple Spot Treatment uses targeted blue light and red light designed to target the look of blemishes and calm the appearance of redness. Explore our FDA-cleared light therapy devices to compare available formats.
Step-by-Step Guide: How to Use Red Light Therapy on Face
Following a structured routine ensures optimal light delivery and keeps your skin comfortable throughout the treatment. Here is how to perform an effective at-home facial session from start to finish.
Step 1: Cleanse Your Skin Thoroughly
Always begin with a freshly washed face. Residual makeup, mineral sunscreens, heavy oils, and daily pollution create a physical barrier on the skin surface that can scatter or block light wavelengths.
Wash your face with a gentle, non-stripping cleanser like the Pre- & Probiotic Hydrating Gel Cleanser. Massage a small amount into wet skin for 30 to 60 seconds to lift surface impurities, then rinse thoroughly with lukewarm water and pat dry with a clean towel.
Step 2: Apply Compatible Prep Topicals
The question of whether to apply skincare before or after your session depends entirely on the type of device you are using:
- For Full-Face LED Masks: You can use the device on clean, dry skin, or you may apply compatible topicals beforehand. If you choose to use topicals, formulas like LightBoost Face & Neck Serum and LightBoost Face & Neck Rich Cream are designed to pair with the session. Apply the serum first, follow with the rich cream, and allow both products to absorb fully before putting on the mask.
- For Handheld Wands: Handheld tools require a hydrating layer to provide proper slip and contact. Apply a generous layer of LightBoost Wand Activating Serum to your first treatment zone before gliding the device across your skin. Reapply the serum as you move to new areas of your face.
- For Spot Treatments: Devices designed for blemishes, such as the Bye Acne spot treatment, should always be placed directly on clean, completely dry skin without any serums or lotions underneath.
Step 3: Secure Protective Eyewear
Eye safety is an essential part of any facial light therapy routine. While red light is non-ionizing, LED arrays are exceptionally bright. When using full-face masks like the Wrinkle Retreat Pro LED Face Mask or dedicated eye devices like the Radiant Renewal Eye Recovery Pro, always ensure the supplied protective eyewear is properly installed and worn throughout the entire session. For additional guidance, read this guide to using red light therapy for eyes. Never substitute simply closing your eyes for proper protective goggles.
Step 4: Run Your Light Therapy Session
Position your device comfortably and begin your session according to the manufacturer guidelines:
- Full-Face Mask: Secure the adjustable head straps so the mask rests comfortably against your facial contours without pressing too hard. Press and hold the power button on the remote to begin the 3-minute session. Relax until the device automatically shuts off.
- Handheld Wand: Turn on the wand and place the head against your skin. Glide the device in slow, upward and outward motions with light pressure. Treat each facial zone (forehead, cheeks, jawline, neck) for 3 minutes, taking up to 12 minutes total for a complete session.
- Targeted Mini or Spot Device: Hold the device gently against the specific area of concern. For the 2-in-1 Mini, use slow circular motions for 3 minutes per area. For targeted spot devices, hold the tool stationary over the blemish for the automated 3-minute cycle.
Pro Tip: Keep your handheld wand moving slowly across the skin in an upward and outward direction. Slow, continuous gliding ensures even light exposure while maximizing the soothing benefits of therapeutic warmth and facial massage.
Step 5: Complete Your Skincare Regimen
After completing your light session, lock in hydration to keep your skin looking plump and dewy. If you used a handheld wand, gently massage any remaining activating serum into your face and neck.
Follow up with a restorative moisturizer like the Pre- & Probiotic Nourishing Moisturizer or a targeted formula like the LightBoost Face & Neck Rich Cream. If you are completing your session during the daytime, always finish your morning routine with a broad-spectrum sunscreen to protect your refreshed skin from daily UV exposure.
+-------------------------------------------------------------+
| FACIAL LIGHT THERAPY ROUTINE FLOW |
| |
| [Step 1: Cleanse] |
| Remove makeup, sunscreen, and oils with a gentle wash. |
| │ |
| ▼ |
| [Step 2: Prep Topicals] |
| Apply compatible LightBoost serum/cream & let absorb fully.|
| │ |
| ▼ |
| [Step 3: Eye Protection & Placement] |
| Install required goggles & fit mask or prep wand glide. |
| │ |
| ▼ |
| [Step 4: Light Session] |
| Relax for 3 minutes (Mask) or 3 min/zone (Wand/Mini). |
| │ |
| ▼ |
| [Step 5: Lock In Hydration] |
| Follow with daily moisturizer and daytime SPF protection. |
+-------------------------------------------------------------+
How Often to Use Red Light Therapy on Your Face
Consistency is far more important than session length when using cosmetic light therapy. Because red light delivers gradual, cumulative visual improvements, running short sessions regularly produces much better results than doing an occasional long treatment. For additional scheduling guidance, read how often to use red light therapy.
Most facial devices are designed for use 3 to 5 times per week. Overusing a device will not speed up your results, as skin can only absorb a certain amount of light energy during a single day. Stick to the recommended timing and give your complexion time to respond naturally.
| Device Type | Session Duration | Recommended Frequency | Daily Limit |
|---|---|---|---|
| LED Face Mask | 3 minutes | 3 to 5 times per week | Max 1 session per day |
| 4-in-1 Wand | 3 min per area (12 min total) | 3 to 5 times per week | Max 1 session per day |
| 2-in-1 Mini | 3 min per area (12 min total) | 3 to 5 times per week | 1 session per area daily |
| Eye Recovery Mask | 3 minutes | 3 to 5 times per week | Max 1 session per day |
| Acne Spot Tool | 3 minutes per spot | Daily on affected spots | Max 1 session per spot daily |
Plan for a minimum of 4 to 8 weeks of consistent use before evaluating changes in your skin. Many users find their skin looks more refreshed and radiant after a few weeks, with improvements in the appearance of fine lines and texture developing steadily over time.
Skincare Ingredient Compatibility: What to Pair and What to Pause
Knowing how to layer your skincare products around your red light sessions ensures your skin remains calm, balanced, and receptive. Certain ingredients complement light therapy beautifully, while others are best applied at a different time of day.
Best Ingredients to Pair Before or During Light Therapy
- Hyaluronic Acid: A lightweight humectant that draws water into the skin surface. Hyaluronic acid creates excellent hydration without leaving a greasy barrier that deflects light.
- Peptides: Peptide complexes support the look of skin elasticity and firmness. They absorb cleanly and pair exceptionally well with red and near-infrared light.
- Niacinamide: Known for calming the appearance of surface redness and supporting an even skin tone, niacinamide is gentle and suitable for pre-light application.
- Glycerin and Botanical Hydrators: Water-soluble humectants provide the smooth glide necessary for handheld devices while keeping skin supple.
Ingredients to Use After Your Session or on Alternate Days
- Retinoids and Retinol: Vitamin A derivatives are fantastic for targeting visible signs of aging, but they can increase temporary skin sensitivity. Apply your retinol after your light session is complete, or reserve it for alternate evenings.
- Exfoliating Acids (AHA/BHA): Glycolic, lactic, and salicylic acids lower skin pH and can cause mild surface irritation if used immediately before light and warmth. Use your chemical exfoliants after your treatment or during separate skincare sessions.
- Heavy Mineral Sunscreens and Thick Balms: Zinc oxide, titanium dioxide, and thick petrolatum balms reflect light waves. Keep these occlusives off your face until your light session is finished.
Key Takeaway: Stick to clean, water-based hydrating serums like the LightBoost collection before your light therapy session. Save strong exfoliating acids and retinoids for post-treatment care or alternate days to keep your skin barrier feeling comfortable.
Important Safety Guidelines and Best Practices
At-home red light therapy devices are gentle, non-invasive, and suitable for most skin types when used according to instructions. Following basic safety protocols ensures every session is comfortable and effective.
Perform a Light Sensitivity Patch Test
If you are new to light therapy, perform a quick patch test before treating your entire face. Turn on your device and hold it over a small area of your inner forearm or jawline for 3 minutes. Wait 24 hours to ensure you do not experience persistent redness, tingling, or unusual sensitivity before beginning regular facial sessions.
Device Maintenance and Cleaning
Keep the surface of your facial devices clean to prevent product buildup and maintain clear light transmission. After each session:
- Turn off the device and ensure it is unplugged from its charger.
- Wipe down the LED surface using Light Therapy Device Cleaning Wipes, a damp cloth, or a 70% isopropyl alcohol wipe.
- Allow the device to air dry completely before storing it in a dry, dust-free carrying case.
- Never submerge electrical light therapy devices in water.
Contraindications and When to Consult a Doctor
Facial light therapy devices are intended for cosmetic use by healthy adults aged 18 and older. You should not use light therapy devices if you are pregnant or planning pregnancy, have active skin cancer, have a condition triggered by light such as epilepsy or lupus, or are currently taking prescription medications that cause photosensitivity.
If you have darker skin tones (Fitzpatrick Skin Types V and VI), your skin may be naturally more sensitive to visible light wavelengths. It is always best to consult a board-certified dermatologist before introducing light devices to determine the ideal frequency for your specific complexion needs. You can also review these red light therapy tips for sensitive skin.
Conclusion
Using red light therapy on your face is a simple, relaxing practice that fits seamlessly into any modern skincare ritual. By starting with thoroughly cleansed skin, wearing proper eye protection, and pairing your sessions with compatible hydrating topicals, you provide your complexion with optimal cosmetic care.
Remember that visible skincare improvements take patience and steady dedication:
- Use your facial device 3 to 5 times per week for the recommended 3 to 12 minutes.
- Pair sessions with water-based hydrators like the LightBoost collection to enhance skin comfort and glide.
- Keep your devices clean and always protect your eyes during full-face mask sessions.
Bottom line: Consistent, short light therapy sessions combined with gentle hydration help your skin look visibly smoother, firmer, and naturally luminous over time.
To discover the ideal light therapy setup for your skin goals, explore our collection of FDA-cleared light therapy devices.
To personalize your routine, take the skin quiz.
FAQ
Should I wash my face before using red light therapy?
Yes, always wash your face before starting your light therapy session. Cleansing removes makeup, mineral sunscreens, and excess surface oils that can reflect or block light wavelengths from reaching your skin. Starting with clean skin ensures maximum light exposure and keeps the surface of your device hygienic.
Can I apply my regular skincare products before using an LED mask?
You can use an LED mask on bare skin, or you can apply compatible, water-based topicals like LightBoost Face & Neck Serum before your session. If you apply serums or creams beforehand, make sure they are fully absorbed into your skin before putting on your mask. Save heavy occlusive balms, retinoids, and exfoliating acids for after your treatment.
How many minutes should I use red light therapy on my face?
Session length depends on your specific device format. Wearable full-face masks like the Wrinkle Retreat Pro LED Face Mask typically feature an automated 3-minute session, while handheld wands are designed for 3 minutes per treatment zone up to 12 minutes total. Always follow the specific timing outlined in your device manual and avoid exceeding the recommended session length.
Can I use red light therapy on my face every day?
Most at-home red light therapy devices are designed for use 3 to 5 times per week, with a maximum of one session per day. Using your device multiple times a day will not accelerate results, as your skin has a natural daily limit for absorbing light energy. Consistency over several weeks is the best way to support a visibly refreshed complexion.
The statements on this website have not been evaluated by the FDA. The information provided on this site is not intended to diagnose, treat, cure, or prevent any disease and should not be construed as medical advice. Results may not be typical.