Rated 4.7 out of 5 stars
4.7 / 5


726,000+ customers
Free 60-Day Returns
1-Year Warranty
726,000+ customers
Free 60-Day Returns
1-Year Warranty
Red light therapy masks are quickly becoming a go-to solution for those seeking radiant, youthful skin—without the need for invasive treatments. Whether you're looking to reduce fine lines, boost collagen, or simply enjoy a spa-like ritual at home, a red light mask offers a science-backed, convenient answer. This guide covers everything you need to know: types of masks, how to use them, their benefits, how they compare to wands, and real customer experiences.
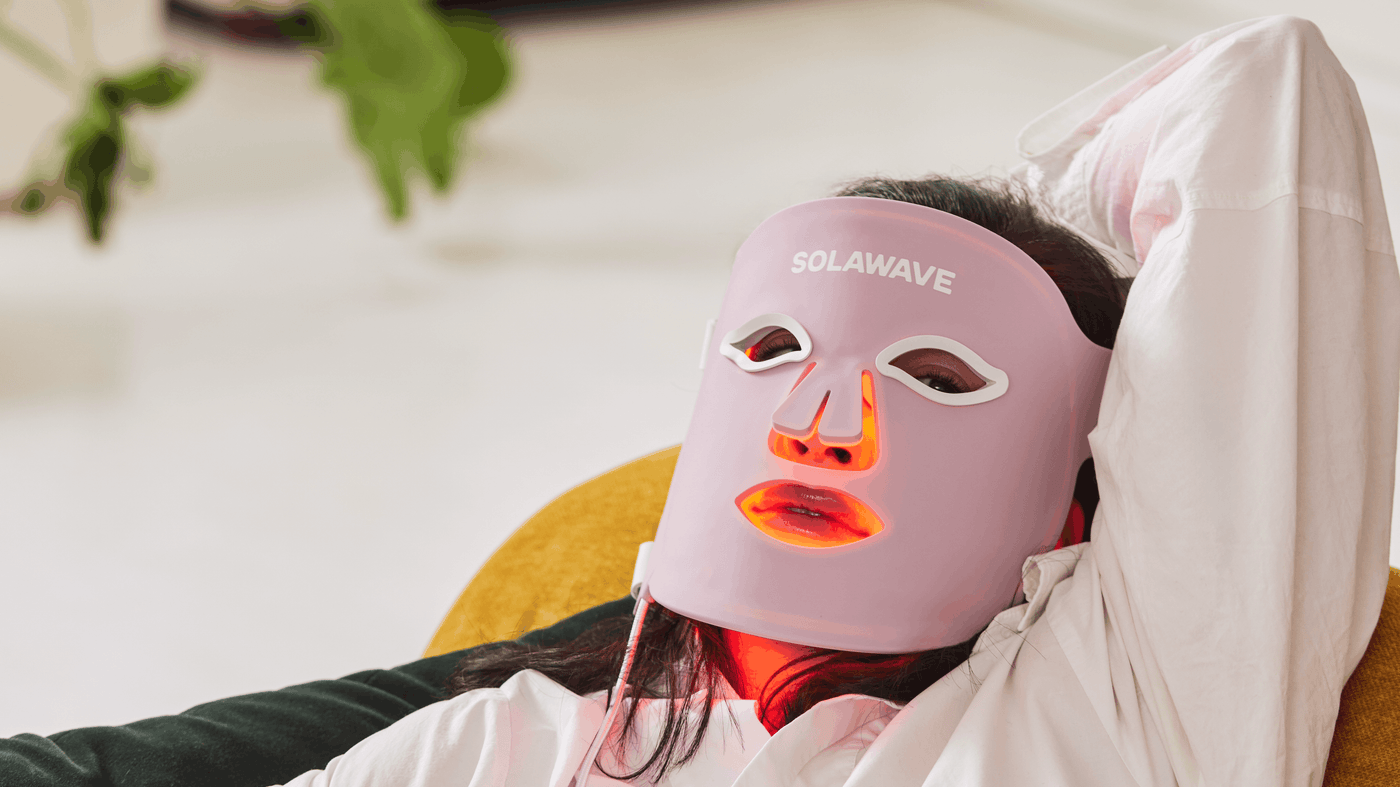
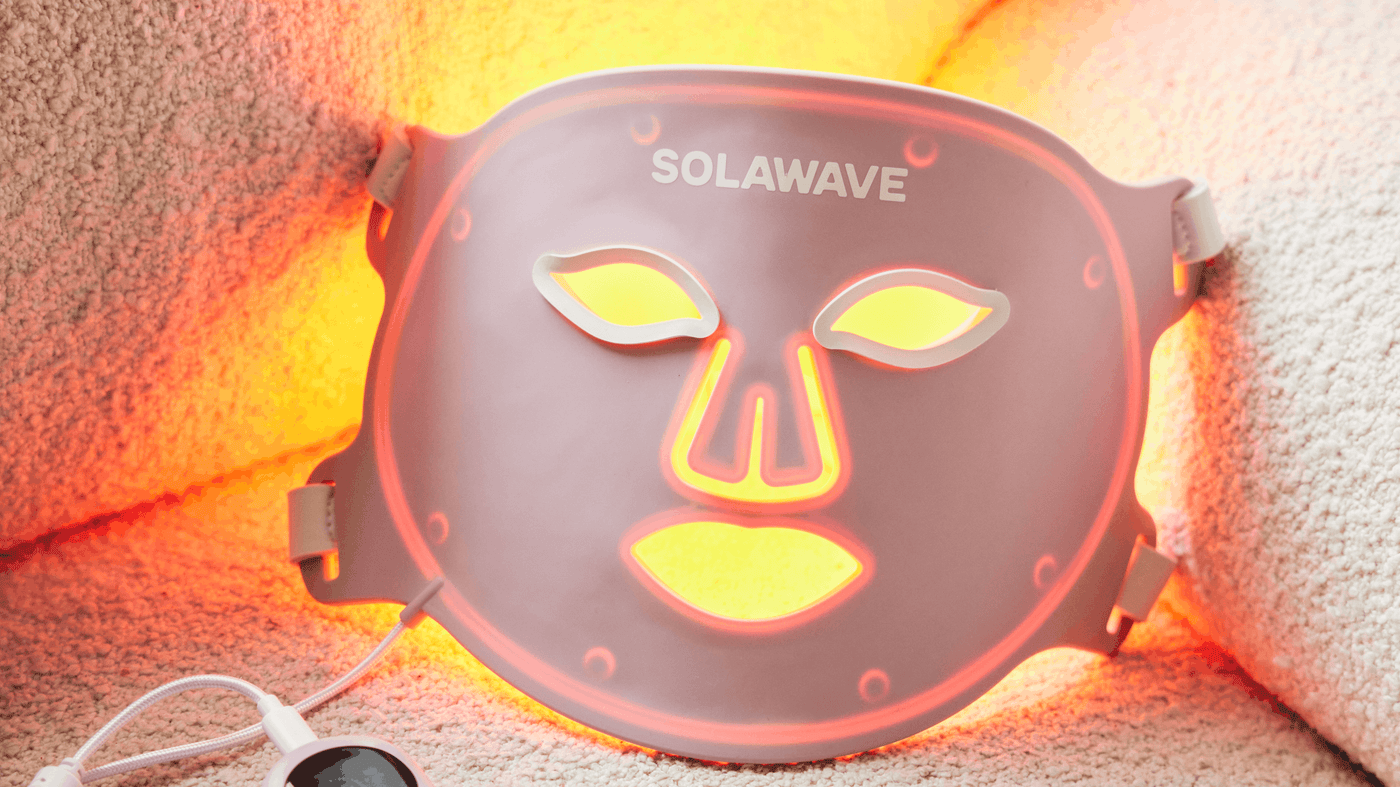
A red light therapy mask is a wearable device fitted with LEDs that emit specific wavelengths of red and near-infrared light. When worn over the face, these wavelengths penetrate the skin to stimulate cell repair, boost collagen production, and address a variety of skin concerns, including wrinkles, dullness, and uneven tone. Most masks are lightweight, cordless, and designed for comfort, making them easy to integrate into your daily skincare routine.
These cover the entire face and are ideal for comprehensive treatment. They often combine red and near-infrared light for maximum rejuvenation, targeting fine lines, wrinkles, and overall skin radiance.
Smaller masks or patches focus on specific areas, such as under the eyes or around the mouth. These are great for spot-treating stubborn wrinkles or pigmentation.
Some advanced masks offer multiple light settings (red, blue, amber, infrared) to address different skin issues, from acne to hyperpigmentation.
Using a red light mask is simple and fits easily into most routines:
Cleanse first. Begin with clean, dry skin — free of SPF, mineral makeup, or heavy moisturizer that can block wavelengths
Apply a compatible hydrating or activating serum (optional). A lightweight, non-mineral serum like LightBoost can be applied before the mask; red light drives ingredients deeper into skin.
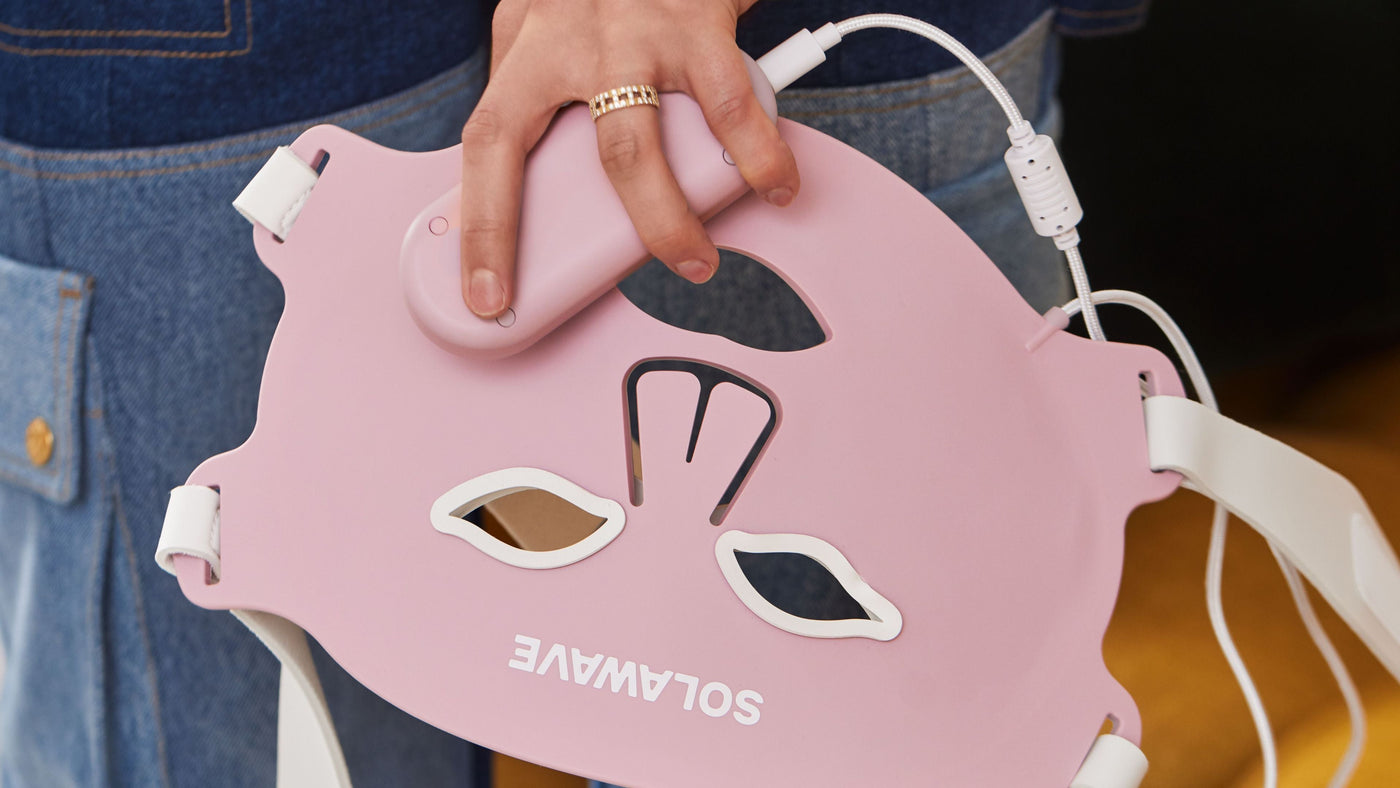
Secure the mask. Fit the Wrinkle Retreat Pro snugly over your face and put on the included protective goggles.
Run your session. The mask auto-shuts off after 3 minutes — relax and let the four wavelengths (Red 630nm, Deep Red 660nm, Amber 605nm, Near-Infrared 830nm) do the work.
Follow with your routine. Post-session skin absorbs serums and moisturizers more effectively — apply LightBoost Niacinamide Serum or your preferred products now.
Frequency: For best results, repeat 3–5 times per week. Most customers see early radiance improvements within 1–2 weeks; fine line reduction typically becomes visible by weeks 4–6.
Red light masks offer a range of science-backed benefits:
Reduces Fine Lines and Wrinkles: Stimulates collagen and elastin, softening visible signs of aging.
Improves Skin Texture and Tone: Enhances overall radiance and smoothness, reducing dullness and uneven pigmentation.
Boosts Healing and Reduces Inflammation: Supports skin repair and calms redness or irritation.
Minimizes Acne: Some masks include blue light to target acne-causing bacteria, reducing breakouts.
Safe and Non-Invasive: At-home devices are FDA-cleared and have minimal side effects when used as directed.
| Feature | Red Light Mask | Red Light Wand |
|---|---|---|
| Coverage | Full face (and sometimes neck) | Targeted areas (spot treatment) |
| Hands-Free | Yes | No (requires manual movement) |
| Session Time | 10 minutes (passive) | 3–5 minutes per area (active) |
| Best For | Overall rejuvenation, busy routines | Precision treatment, travel, small areas |
| Experience | Relaxing, easy to multitask | More interactive, precise |
Masks are ideal for those seeking an effortless, all-over glow, while wands are perfect for targeting specific concerns or for those who enjoy a more hands-on approach.
Many users report visible improvements in skin texture, firmness, and brightness after several weeks of consistent use. For instance, one reviewer shared, “After two months, my complexion looked noticeably brighter and smoother. The mask was comfortable and easy to use, making it simple to stick to my routine.” Another customer found that using both a mask and a wand provided the best of both worlds—full-face rejuvenation and targeted spot treatment.
Red light masks are generally safe for most skin types. Always follow the manufacturer’s instructions and use protective eye shields if recommended. If you have sensitive skin, consult your dermatologist before starting treatment.
Red light therapy masks are suitable for a wide range of skin types and ages, but they are especially popular among women aged 30 to 60 who want to address early signs of aging, sun damage, or uneven skin tone. If you have sensitive skin or are prone to irritation from topical products, a red light mask provides a gentle, non-chemical alternative. Many dermatologists recommend these masks for those looking to maintain healthy skin with minimal downtime or risk. However, individuals with certain medical conditions or those taking photosensitizing medications should consult a healthcare professional before starting red light therapy.
Selecting the right red light mask can feel overwhelming with so many options on the market. Consider the features that matter most to you: some masks offer adjustable light intensities, while others include additional wavelengths for targeting specific concerns like acne or hyperpigmentation. Comfort and fit are also important—look for masks that are lightweight, flexible, and easy to wear. Battery life, ease of cleaning, and FDA clearance are other factors to keep in mind. Reading customer reviews and checking for clinical backing can help you make an informed decision that fits your skincare goals and lifestyle. For a mask that meets all of these criteria, the Solawave Wrinkle Retreat Pro uses 320 medical-grade LEDs across four clinically targeted wavelengths in a 3-minute FDA-cleared session — and is backed by a 60-day money-back guarantee.
Adding a red light mask face mask to your routine doesn’t mean you have to overhaul your entire regimen. Most people find it easy to incorporate treatments after cleansing and before applying serums or moisturizers. Red light therapy pairs well with hydrating and barrier-supporting products, as the light helps boost absorption and effectiveness. For those who already use other devices, such as facial rollers or microcurrent tools, red light masks can complement these steps, creating a holistic approach to skin health. Consistency is key, so setting aside a few minutes several times a week can yield long-lasting, visible results.
Red light therapy masks are a powerful addition to any skincare routine, offering visible, science-backed results with minimal effort. Whether you’re looking for convenience, comprehensive coverage, or a boost in confidence, a red light mask could be the secret to your best skin yet.
Q. Do red light masks really work?
Yes, clinical studies and customer reviews confirm that red light therapy masks can reduce wrinkles, improve skin tone, and boost radiance with consistent use over 4–8 weeks.
Q. Are LED face masks safe to use?
LED face masks are FDA-cleared and considered safe for at-home use. Side effects are rare and usually mild, such as temporary redness or irritation.
Q. Which LED light is best for wrinkles?
Red light in the 620–700 nm range is most effective for reducing wrinkles and boosting collagen production.
Tips for getting the best results:
Use your mask on clean, dry skin.
Stick to a consistent schedule (3-5 times per week).
Use your red light face mask 3-5 times per week for best results. This frequency gives your skin consistent light stimulation while allowing adequate recovery time between sessions. Daily use is generally safe, but most dermatologists recommend the 3–5x weekly schedule.
Most users notice improved skin tone and a more radiant complexion within 1-2 weeks of consistent use. More visible fine line reduction typically appears by weeks 4-6, with significant improvements in firmness and texture by weeks 8-12.
Red light therapy masks are most effective for reducing the appearance of fine lines and wrinkles, boosting collagen production, evening skin tone, calming redness, and improving overall skin texture - making them popular for at-home anti-aging routines.