How to Use Red Light Therapy Device on Face
Master how to use red light therapy device on face for radiant skin. Learn pro tips on skin prep, session timing, and consistent routines for visible results.
Introduction
Bringing LED skincare into your home routine can feel exciting, but figuring out the exact steps takes some guidance. Whether you want to target the look of fine lines, calm the appearance of redness, or refresh dull skin, technique and consistency make all the difference. Knowing what to apply beforehand, how long to run each treatment, and how often to use your tool ensures you get the most out of your investment. At Solawave, we design light therapy tools to make advanced skincare simple and intuitive for daily life. This guide explains how to properly prepare your skin, operate both full-face masks and targeted wands, layer your topicals, and maintain a safe, effective routine. With the right foundation, you can easily integrate light therapy into your existing skincare ritual.
Choosing the Right Facial Light Therapy Format
Facial light therapy devices come in several distinct form factors. Each style serves a specific purpose in your routine, depending on your lifestyle and the areas of your face you want to focus on.
Full-Face Masks
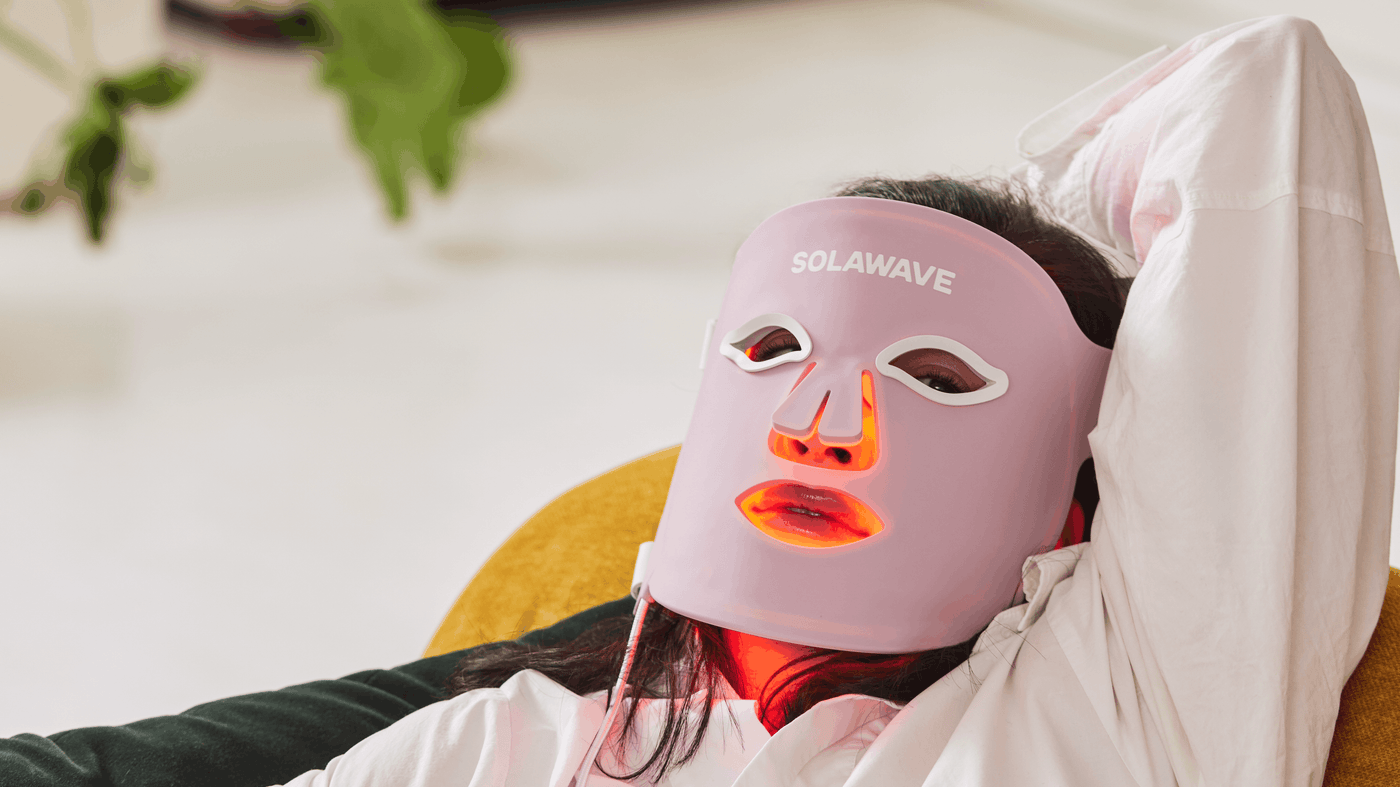
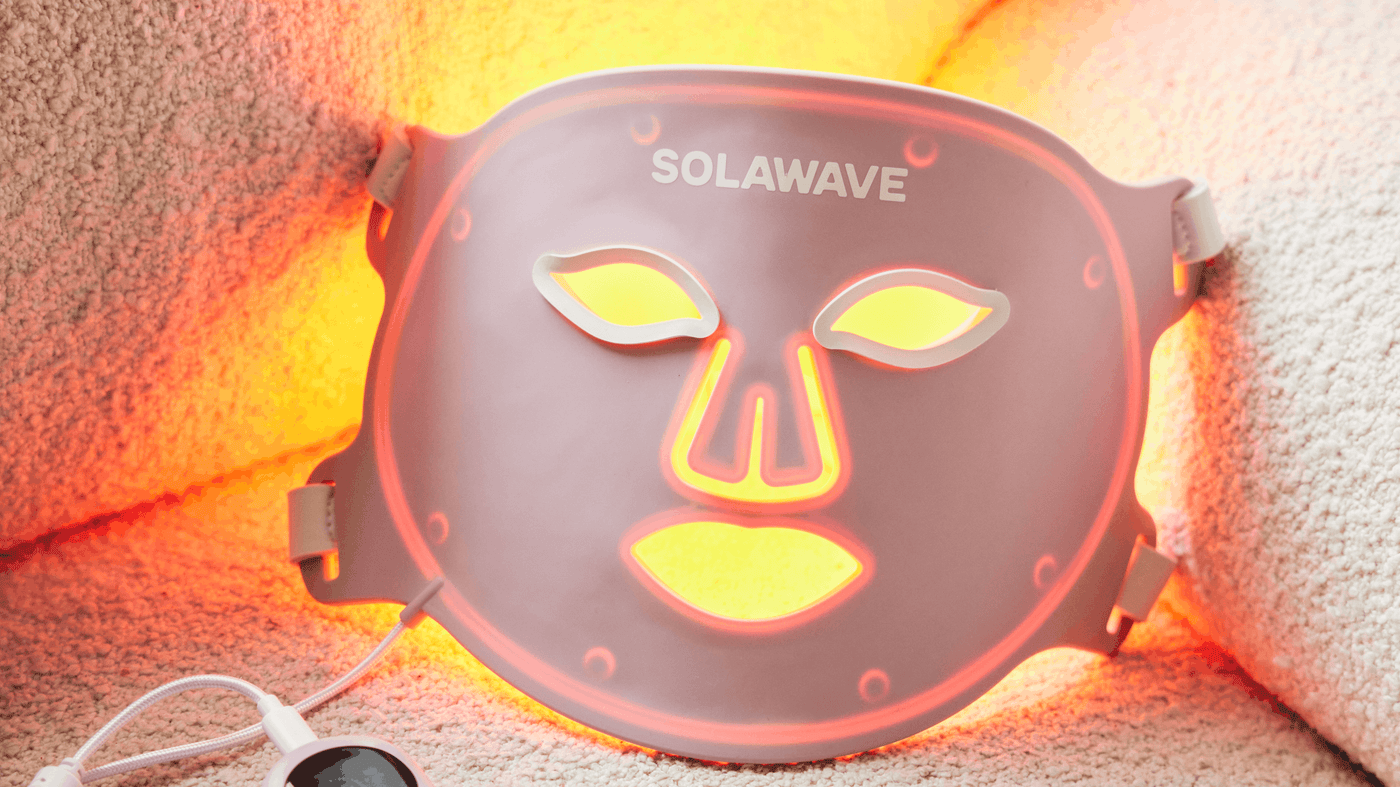
Full-face masks offer total facial coverage in a single, hands-free session. Flexible silicone designs rest comfortably against your facial contours, delivering light evenly across the forehead, cheeks, jawline, and chin simultaneously. A mask like our Wrinkle Retreat Pro LED Face Mask is ideal if you want a complete, efficient treatment that addresses overall facial appearance in just a few minutes while you relax.
Targeted Skincare Wands
Handheld wands provide targeted application with added modalities. A multi-benefit tool like the 4-in-1 Skincare Wand pairs red light therapy with gentle warmth, facial massage, and galvanic current. This format allows you to focus extra attention on specific facial zones, such as the under-eye area, smile lines, or jawline, while manually guiding the treatment along your facial contours.
Specialized Spot Devices and Eye Masks
Targeted concerns often call for dedicated shapes. An eye-specific mask like our Radiant Renewal Eye Recovery Pro focuses light directly on the delicate skin around the eyes to address the appearance of dark circles and crow's feet. For unexpected blemishes, compact spot tools like our Bye Acne spot treatment combine blue and red wavelengths to target the look of breakouts on localized areas.
Understanding Cosmetic Wavelengths for Facial Skin
Different light wavelengths target distinct aesthetic concerns. When selecting or using a facial device, knowing what each color offers helps you tailor your routine to your goals. For additional background, read how red light therapy works.
| Wavelength | Color Band | Visible Skin Focus |
|---|---|---|
| ~415 nm | Blue Light | Targets the visible look of blemishes and surface breakouts. |
| ~605 nm | Amber Light | Promotes a radiant, refreshed, and glowing appearance. |
| ~630 nm | Red Light | Helps even out skin tone and calms the look of redness. |
| ~660 nm | Deep Red Light | Addresses visible signs of aging and the appearance of fine lines. |
| ~830 nm | Near-Infrared Light | Supports the appearance of firmer, plumper-looking skin contours. |
Light Therapy Devices
Preparing Your Skin Before Every Session
Proper skin preparation allows light energy to reach your skin without obstruction. Skipping basic prep can diminish the visual benefits of your treatment.
The Essential Cleanse
Always begin your routine with freshly washed skin. Makeup, mineral sunscreens, heavy oils, and daily debris create a physical barrier that can scatter or deflect light waves. Wash your face using a gentle, non-stripping cleanser such as the Pre- & Probiotic Hydrating Gel Cleanser. Work a small amount into wet hands, massage gently across your face for 30 to 60 seconds, and rinse thoroughly with lukewarm water. Pat your face dry with a clean towel.
Skincare Layering Before Light Therapy
A common question is whether to apply skincare products before or after using your device. The answer depends on the specific device format you are using:
- For Full-Face Masks: You can use clean, bare skin or pair your session with compatible, light-friendly topicals. If you use the LightBoost Face & Neck Serum, apply a generous layer to your face and neck first. If you also use the LightBoost Face & Neck Rich Cream, apply the cream over the serum. It is essential to let all topicals fully absorb into the skin before putting on your mask.
- For Targeted Wands: Wands require a dedicated hydrating layer to ensure smooth glide and optimal contact. Apply a generous layer of LightBoost Wand Activating Serum to the treatment area before moving the wand across your skin.
- For Eye Masks: Apply a pea-sized amount of LightBoost Eye Cream around the orbital bone and gently tap it in until it fully absorbs before placing your eye mask on.
- For Spot Treatments: Spot devices should only be applied to clean, completely dry skin without any creams, serums, or oils underneath.
Quick Answer: Always start with a thoroughly cleansed face. If using compatible light-boosting serums or creams, apply them first and let them absorb completely before putting on a mask or starting a wand treatment.
Eye Safety and Protective Eyewear Requirements
Eye comfort and safety should always be a priority when using bright LED devices on your face. While cosmetic red light does not contain harmful ultraviolet rays, the direct brightness can feel intense to the eyes.
For full-face devices like the Wrinkle Retreat Pro LED Face Mask and targeted tools like the Radiant Renewal Eye Recovery Pro, the supplied protective eyewear must be properly installed and worn for every single session. Do not rely solely on closing your eyes. Ensure your goggles fit securely before turning on the device.
Step-by-Step: How to Use Facial LED Masks
Using a full-face LED mask is straightforward once you know the proper sequence. Follow these steps to ensure a comfortable and effective session.
Step 1: Cleanse and Prep
Step 2: Install Eyewear and Secure Mask
Step 3: Run the 3-Minute Session
Step 4: Complete Your Skincare Routine
Step 1: Cleanse and Prep
Wash away all makeup, sunscreen, and surface oils. Pat your skin dry. If you are pairing your treatment with topical hydration, smooth on your LightBoost Face & Neck Serum and LightBoost Face & Neck Rich Cream. Allow both formulas to absorb fully so the surface of your skin is not wet or slippery.
Step 2: Install Eyewear and Secure the Mask
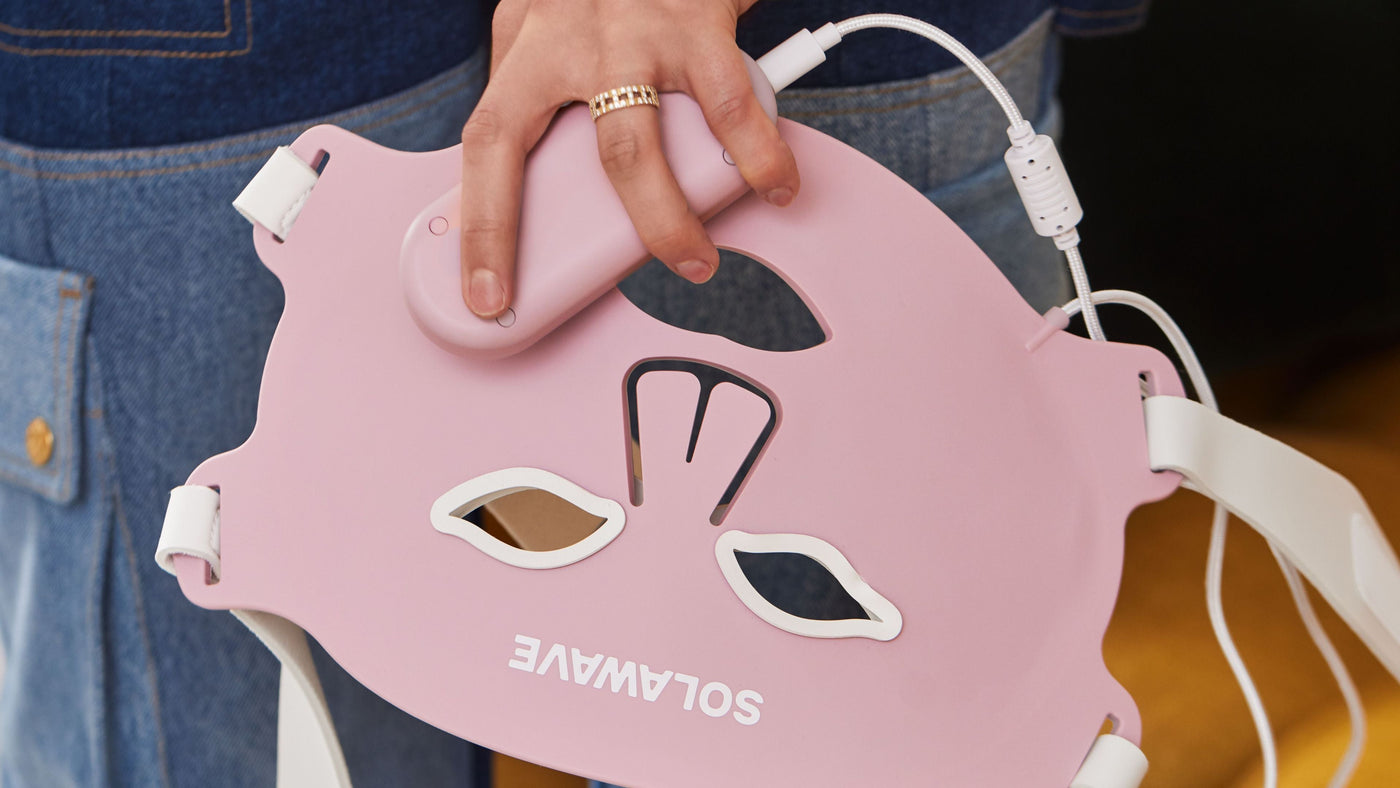
Insert the supplied protective eye goggles into the eye ports of your mask. Position the mask comfortably over your face, aligning the openings with your eyes, nose, and mouth. Fasten the adjustable head straps around the back of your head so the mask sits flush against your skin without pinching or feeling overly tight.
Step 3: Run the Timed Session
Press and hold the power button on the controller until the LEDs illuminate. Relax while the device runs its programmed treatment. The Wrinkle Retreat Pro LED Face Mask operates for a precise 3-minute session, utilizing 320 LEDs across Amber, Red, Deep Red, and Near-Infrared wavelengths. The device will automatically shut off once the 3 minutes are complete.
Step 4: Post-Session Hydration and Routine Completion
Remove the mask and set it aside. If you did not apply topicals before your session, this is the perfect time to apply your daily hydrating serums, moisturizers, and facial oils. If you are finishing your morning routine, complete your regimen by applying a broad-spectrum daily sunscreen.
Pro Tip: Keep your sessions hands-free and relaxing. Use your 3-minute mask time for mindful breathing, light stretching, or listening to a short podcast episode.
Step-by-Step: How to Use a Facial Light Therapy Wand
Handheld wands offer a customizable, massage-like experience that you guide across your face. Here is how to perform a standard wand treatment.
Step 1: Apply Your Activating Serum
Cleanse your face and pat it dry. Dispense a generous layer of LightBoost Wand Activating Serum onto the first section of your face you plan to treat. This serum provides the necessary slip for smooth wand movement, supports skin contact, and helps the device glide comfortably.
Step 2: Master the Glide Technique
Turn on your 4-in-1 Skincare Wand. Place the smooth metal head against your skin using light, gentle pressure. You will feel comforting therapeutic warmth and gentle vibrations as the galvanic current and red light activate. Always move the wand in slow, upward, and outward sweeping motions. Never pull downward or drag the wand aggressively across delicate skin.
Step 3: Section the Face by Zones
Divide your face into four primary zones: the right cheek and jawline, the left cheek and jawline, the forehead, and the neck. Spend 3 minutes gliding the wand across each individual zone:
- Cheeks and Jawline: Start at the center of the chin and sweep outward along the jawline toward the earlobe. Move up to the cheek, gliding from beside the nose outward toward the hairline.
- Forehead: Place the wand just above the eyebrows and glide vertically upward toward the hairline, moving across the forehead from left to right.
- Under-Eye and Brow Bone: Gently glide outward along the orbital bone, taking care not to press directly against the eyeball.
- Neck: Glide gently upward from the collarbone toward the jawline, avoiding the center of the throat.
Reapply a fresh layer of serum as you move to each new section. The wand features an automatic shut-off after 12 minutes, which equals 3 minutes per zone across four areas.
Step 4: Clean and Store Your Device
After your session ends, massage any remaining serum into your skin. Clean the metal head of your wand thoroughly using a damp cloth, a water-based wipe, or Light Therapy Device Cleaning Wipes containing 70% isopropyl alcohol. Never submerge your wand in water. Allow it to air dry, then store it safely in a protective carrying case.
How Often to Use Red Light Therapy on Your Face
Consistency is the single most important factor in seeing visible improvements from at-home light therapy. Unlike aggressive clinical peels or ablative lasers, LED light therapy works gradually over time. For more guidance, read how long to use red light therapy for wrinkles.
Frequency and Session Length Guidelines
Most facial light therapy protocols call for regular, short sessions rather than infrequent, long treatments. Here is a clear breakdown of recommended frequencies across common device formats:
| Device Format | Session Length | Recommended Frequency | Maximum Daily Usage |
|---|---|---|---|
| Full-Face Mask | 3 minutes | 3 to 5 times per week | Once per day |
| Skincare Wand | 3 minutes per area (up to 12 min total) | 3 to 5 times per week | Once per day |
| Eye Recovery Mask | 3 minutes | 3 to 5 times per week | Once per day |
| Spot Treatment | 3 minutes per spot | Once daily per spot | Once daily per spot |
Why Consistency Beats Duration
Skincare devices are calibrated to deliver an optimal dose of light within a specific timeframe. Running a device for longer than recommended does not speed up your results. In fact, overusing light devices can lead to temporary surface redness or skin dryness. Stick to the programmed treatment times and focus on maintaining a regular routine 3 to 5 days each week. You can also review red light therapy wavelength guidance.
What Results to Expect and Realistic Timelines
Light therapy delivers cumulative visual benefits. Many users report that their skin appears slightly more refreshed and radiant immediately following a session due to gentle warmth and topical hydration. However, noticeable improvements in the look of fine lines, overall skin tone, and visible firmness develop gradually over several weeks of consistent use.
Most people begin to see visible changes after 4 to 8 weeks of steady application. Because every complexion is unique, individual results will vary based on age, skin condition, lifestyle, and consistency. For additional context, explore red light therapy for wrinkles.
Enhancing Your Routine with Supporting Skincare
Light therapy pairs naturally with daily skincare formulas that hydrate, nourish, and support the look of the skin barrier. Integrating the right products before and after your sessions enhances your overall complexion.
Incorporating a Complete Daily Skincare System
A healthy skin barrier provides the ideal foundation for light therapy. A balanced daily regimen, such as the Solabiome Glowing Skin Starter Kit, helps keep your skin feeling calm, hydrated, and supple:
- Cleanse: Wash with the Pre- & Probiotic Hydrating Gel Cleanser morning and evening to remove buildup without stripping essential moisture.
- Tone and Refresh: Spritz the Pre- & Probiotic Refreshing Jelly Mist across your face to deliver lightweight hydration and prep skin for serums.
- Hydrate: Press a few drops of Pre- & Probiotic Plumping Peptide Serum into damp skin to support a plumper, smoother appearance.
- Lock In Moisture: Smooth Pre- & Probiotic Nourishing Moisturizer over your face and neck to seal in hydration and support skin barrier comfort.
You can experience this entire four-step ritual together in the Solabiome Glowing Skin Starter Kit.
Weekly Hydration Boosts
For days when your complexion feels particularly parched or dull, incorporate a biodegradable water-gel Hydrating Sheet Mask once or twice weekly. Apply the sheet mask to clean skin for 10 to 20 minutes. After removing the mask, massage the leftover serum into your skin without rinsing to leave your face looking dewy and revitalized.
Common Mistakes to Avoid When Using Light Therapy
To get the most out of your at-home sessions, avoid these frequent missteps:
- Using Sunscreen Before Your Session: Mineral and chemical sunscreens are specifically formulated to block or reflect light waves. Always apply your daily sunscreen after your light session is complete.
- Skipping Skin Cleansing: Applying light therapy over makeup or daily grime prevents light from evenly reaching the skin surface. Always start with clean skin.
- Overusing the Device: Doubling or tripling your session time will not accelerate your results. Stick to the manufacturer-specified treatment durations.
- Inconsistent Application: Using your device once every two weeks will not provide lasting visual changes. Aim for 3 to 5 sessions each week.
- Forgetting Eye Protection: Always use the required protective goggles supplied with your mask rather than relying solely on closed eyelids.
- Submerging Devices in Water: Electronic light devices should never be washed under running water. Use a damp microfiber cloth or dedicated device cleaning wipes instead.
Safety Guidelines, Patch Testing, and Skin Tone Considerations
At-home red light therapy is non-invasive, non-thermal, and suitable for most skin types when used according to device instructions. However, following standard safety practices ensures a comfortable experience. You can also read what to know about at-home red light therapy safety.
Performing a Light Sensitivity Patch Test
If you are new to light therapy, perform a quick patch test before treating your entire face. Turn on your device and hold it over the inner forearm for 3 minutes. Turn the device off and monitor the skin for the next 24 hours. If you notice persistent redness, discomfort, or irritation, discontinue use and consult your doctor.
Skin Tone and Sensitivity Considerations
Red and near-infrared light therapy does not rely on skin pigment absorption the way certain high-heat ablative lasers do, making it broadly suitable across various skin tones. However, individuals with deeper skin tones (Fitzpatrick types V and VI) or those prone to melasma and post-inflammatory hyperpigmentation should monitor how their skin responds to warmth. If you have pigment-sensitive skin, consulting a board-certified dermatologist helps you establish the ideal session frequency.
Contraindications and When to Consult a Doctor
At-home light therapy devices are intended for cosmetic use by healthy adults aged 18 and older. You should not use light therapy devices if you:
- Are pregnant or planning pregnancy
- Are prone to seizures or have epilepsy
- Have active cancer or suspicious skin lesions
- Take prescription medications that cause light sensitivity (such as certain tetracyclines, retinoids, or photosensitizing drugs)
- Have an implanted electronic device such as a pacemaker (specifically for tools utilizing galvanic current like the 4-in-1 Skincare Wand)
If you have an active dermatological condition, recent facial surgeries, or cosmetic injectables, consult your healthcare provider or dermatologist before beginning a new light therapy regimen.
Conclusion
Mastering how to use a red light therapy device on your face comes down to simple, consistent habits: start with clean skin, use compatible topicals appropriately, protect your eyes, and follow the recommended 3- to 5-day weekly schedule. By pairing targeted wavelengths with gentle skincare habits, you support a visibly smoother, more radiant complexion from the comfort of home.
- Cleanse thoroughly before every session to remove makeup, oils, and SPF.
- Follow device-specific steps by pairing wands with activating serums and wearing required eye protection with full-face masks.
- Stay consistent with 3-minute sessions 3 to 5 times per week for steady, cumulative visual results.
Key Takeaway: At-home red light therapy delivers visible cosmetic benefits when used on clean skin with proper technique, correct topical pairings, and regular weekly consistency.
To discover the ideal light therapy routine tailored to your specific skin goals, explore our FDA-cleared device collection or take the skin quiz today.
FAQ
Should I wash my face before or after using red light therapy?
You should always wash your face before using your red light therapy device. Cleansing removes makeup, excess oils, and daily sunscreen that could otherwise scatter or block the light from reaching your skin. After your session is finished, you can continue with your regular serums, moisturizers, and sun protection.
Can I use my red light therapy device on my face every day?
Most facial light therapy devices are designed for use 3 to 5 times per week, with a limit of no more than once per day. Sticking to the recommended frequency allows your skin to respond gradually without causing unnecessary irritation or dryness. Always follow the specific frequency guidelines provided in your device's instruction manual.
What should I put on my face before using a red light mask?
You can use an LED mask on completely clean, bare skin or pair it with compatible, light-friendly formulas. If you use LightBoost Face & Neck Serum or Rich Cream, apply them to clean skin and allow them to fully absorb before putting on your mask. Avoid applying heavy, opaque creams or daily sunscreens before your light session.
How long does it take to see visible results from facial red light therapy?
Visible changes from red light therapy develop gradually with regular, consistent use. While your skin may look temporarily refreshed and dewy right after a treatment, noticeable improvements in the appearance of fine lines, tone, and texture typically appear within 4 to 8 weeks of consistent use. Individual results vary depending on skin type and routine consistency.
The statements on this website have not been evaluated by the FDA. The information provided on this site is not intended to diagnose, treat, cure, or prevent any disease and should not be construed as medical advice. Results may not be typical.