How to Use Red Light Therapy at Home on Face

Learn how to use red light therapy at home on face routines for radiant skin. Follow our step-by-step guide on prep, timing, and serums for best results.

Published Updated at Solawave Team
How to Use Red Light Therapy at Home on Face

Introduction

Bringing professional skincare technology into your home has never been easier. When you want to address the look of fine lines, dullness, or uneven tone, facial light therapy offers an accessible, non-invasive approach. Knowing exactly how to use red light therapy at home on face routines can make all the difference in your results.

Using light therapy at home is simple, but technique matters. From proper skin prep and treatment timing to pairing the right topical formulas, small details create the foundation for healthy-looking skin. Solawave designs tools that make these modern treatments seamless and intuitive for any daily routine.

This guide covers everything you need to know about setting up your sessions, applying the light correctly, and layering your skincare products for a radiant, refreshed appearance.

Understanding Facial Red Light Therapy

Red light therapy uses specific, visible wavelengths of light to support the skin's surface. Unlike ultraviolet rays, these wavelengths do not damage the skin or cause burning. Cosmetic light devices deliver low-level light energy to target visible signs of aging and fatigue.

Different wavelengths target different visual aspects of your skin. Visible red light sits around 630 to 660 nanometers (nm). This range is widely used in skincare to help skin look smoother, firmer, and more evenly toned. Near-infrared light, which sits between 800 and 850 nanometers, is invisible to the naked eye. It works alongside red light to support a refreshed, energized appearance.

For more information, explore how red light therapy works.

Wavelength Range Color Name Primary Cosmetic Focus
~415 nm Blue Light Targets the appearance of blemishes and breakouts
~605 nm Amber Light Promotes a radiant, glowing complexion
~630 nm Red Light Helps skin look more even and softens the look of redness
~660 nm Deep Red Light Addresses the appearance of fine lines and uneven texture
~830 nm Near-Infrared Helps the skin appear firmer, refreshed, and rested

When you apply these wavelengths consistently, the skin gradually takes on a more rested and revitalized appearance.

Quick Answer: To use red light therapy on your face at home, start with freshly cleansed, clean skin. Position your device according to its instructions, run your session for the recommended duration (usually 3 to 12 minutes depending on device type), and follow with your daily hydrating serums and moisturizer 3 to 5 times per week.

Step-by-Step Guide: How to Prep and Apply Light Therapy

Setting up an effective at-home session takes only a few minutes. Follow these fundamental steps to ensure your facial skin receives the full benefits of every treatment.

Step 1: Cleanse Your Skin Thoroughly

Light cannot easily pass through thick barriers. Sunscreen, heavy makeup, and excess surface oils can reflect or block the light from reaching your skin.

  1. Wash your face with a gentle, non-stripping cleanser, such as Pre- & Probiotic Hydrating Gel Cleanser.
  2. Rinse thoroughly with lukewarm water to remove all residue.
  3. Pat your face completely dry with a clean towel.

Starting with a clean, makeup-free face allows the light energy to interact directly with your skin.

Step 2: Apply Compatible Topicals (If Recommended)

Different devices require different surface prep. Some tools, like LED face masks, work directly over clean skin or alongside compatible, fully absorbed light-therapy serums. Other tools, like wands, require a hydrating slip to glide effortlessly across the face.

If you are using a dedicated mask protocol with LightBoost Face & Neck Serum, apply a few drops across your face and neck. If you also use LightBoost Face & Neck Rich Cream, layer it over the serum. Allow both products to absorb fully into the skin before putting on your device.

If you are using a wand device that requires glide, apply a generous layer of LightBoost Wand Activating Serum to the first treatment zone right before turning on your tool.

Step 3: Put on Required Eye Protection

Direct exposure to bright LEDs can cause discomfort or visual fatigue. When using a full-face mask or eye mask, always ensure the supplied protective eyewear is properly installed and worn throughout the entire session. Never substitute closing your eyes for physical eye protection when the manual specifies goggles.

Step 4: Position and Run the Device

Place the mask comfortably over your face and secure the straps so it rests evenly against your skin. If you are using a handheld wand or compact device, hold the head against the skin with light, gentle pressure.

Turn the device on and let it run for its timed cycle:

  • Full-face LED masks typically run for 3 minutes per session.
  • Targeted handheld wands run for 3 minutes per facial area, totaling up to 12 minutes for a full-face treatment.
  • Targeted spot devices run for 3 minutes directly over the blemish area.

Most modern devices feature an automatic shut-off function, taking the guesswork out of timing your session.

Step 5: Finish with Your Skincare Routine

Once your session ends, remove your device and continue with your daily routine. If you did not apply topicals beforehand, this is the ideal moment to apply hydrating serums, peptide treatments, and moisturizers.

During the daytime, always finish your morning routine with a broad-spectrum sunscreen to protect your skin barrier throughout the day.

Finding the Right Routine and Frequency for Your Skin

Consistency is the most important factor in any light therapy routine. A single long session will not produce the same visible improvements as regular, moderate sessions spread throughout the week.

How Often to Use Red Light Therapy on Your Face

Most at-home facial devices are designed for use 3 to 5 times per week. Using your device more than once per day on the same area does not accelerate visible changes. In fact, light therapy follows a balanced principle where excessive exposure offers diminishing returns.

Device Type Session Length Recommended Frequency Maximum Daily Usage
Wrinkle Retreat Pro LED Face Mask 3 minutes 3 to 5 times per week Once per day
4-in-1 Skincare Wand 3 minutes per zone (up to 12 mins) 3 to 5 times per week Once per day
Radiant Renewal Eye Recovery Pro 3 minutes 3 to 5 times per week Once per day
2-in-1 Skincare Mini 3 minutes per zone (up to 12 mins) 3 to 5 times per week Once per area per day
Bye Acne Spot Treatment 3 minutes per spot Daily on affected spots Once per spot per day

For additional guidance on routines and device use, visit Tutorials & Guides.

Pro Tip: Keep your light therapy device on your vanity or bedside table next to your evening skincare products. Pairing your treatment with an existing habit, like your nighttime wind-down routine, makes consistency effortless.

Morning vs. Evening Sessions

You can use facial red light therapy in the morning or at night, depending on your lifestyle and goals.

  • Morning sessions: Using red light before applying makeup can help wake up the look of your skin. Handheld tools that include warmth and facial massage can help reduce the appearance of morning puffiness and create a smooth base for cosmetics.
  • Evening sessions: Using a hands-free mask at night offers a relaxing self-care ritual. It fits naturally between evening cleansing and your night creams.

If your device utilizes blue light wavelengths, such as a blemish spot treatment, using it earlier in the day is often preferred to avoid exposing your eyes to blue light close to bedtime.

Choosing the Right Facial Device for Your Goals

Different facial tools serve different lifestyles and visual concerns. Selecting the right format ensures you stay consistent with your treatments.

Full-Face LED Masks for Comprehensive Rejuvenation

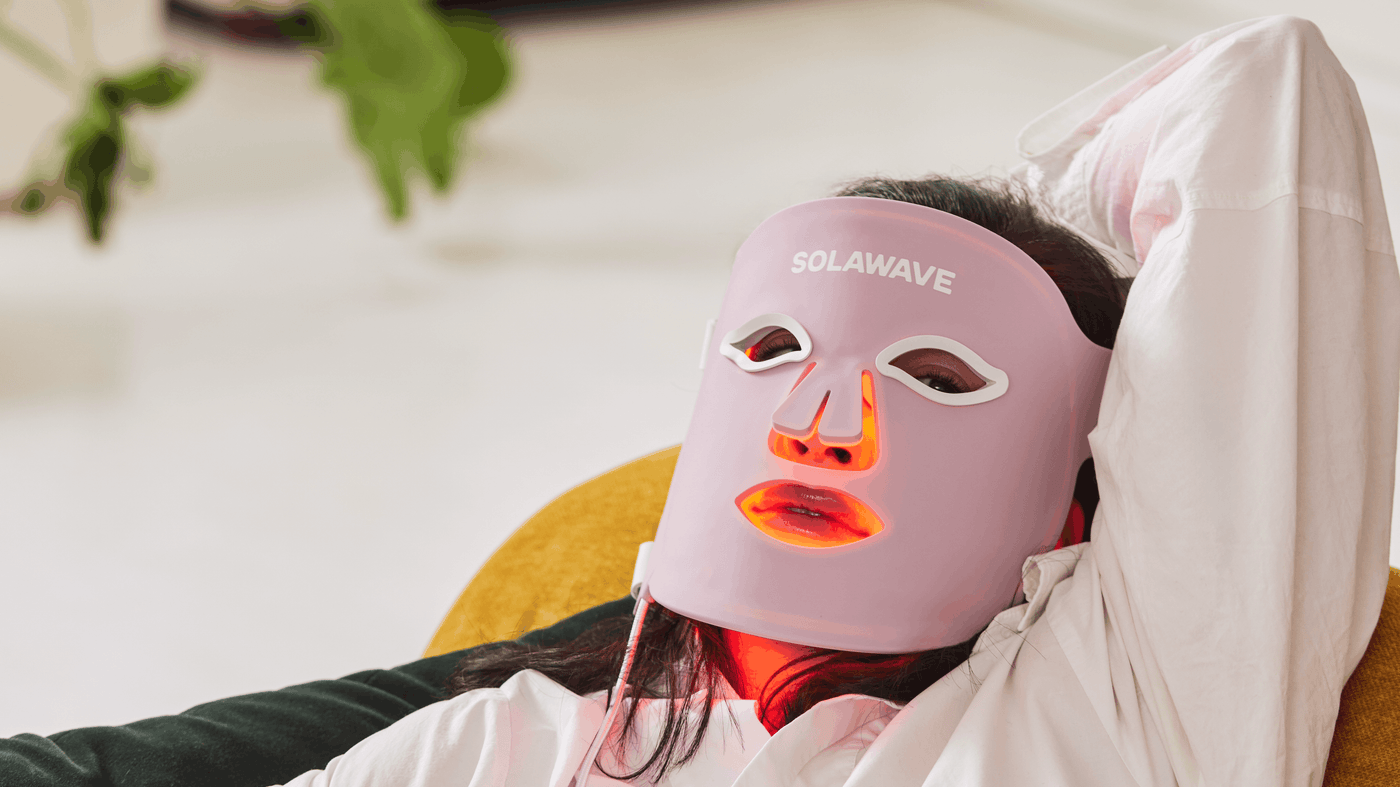
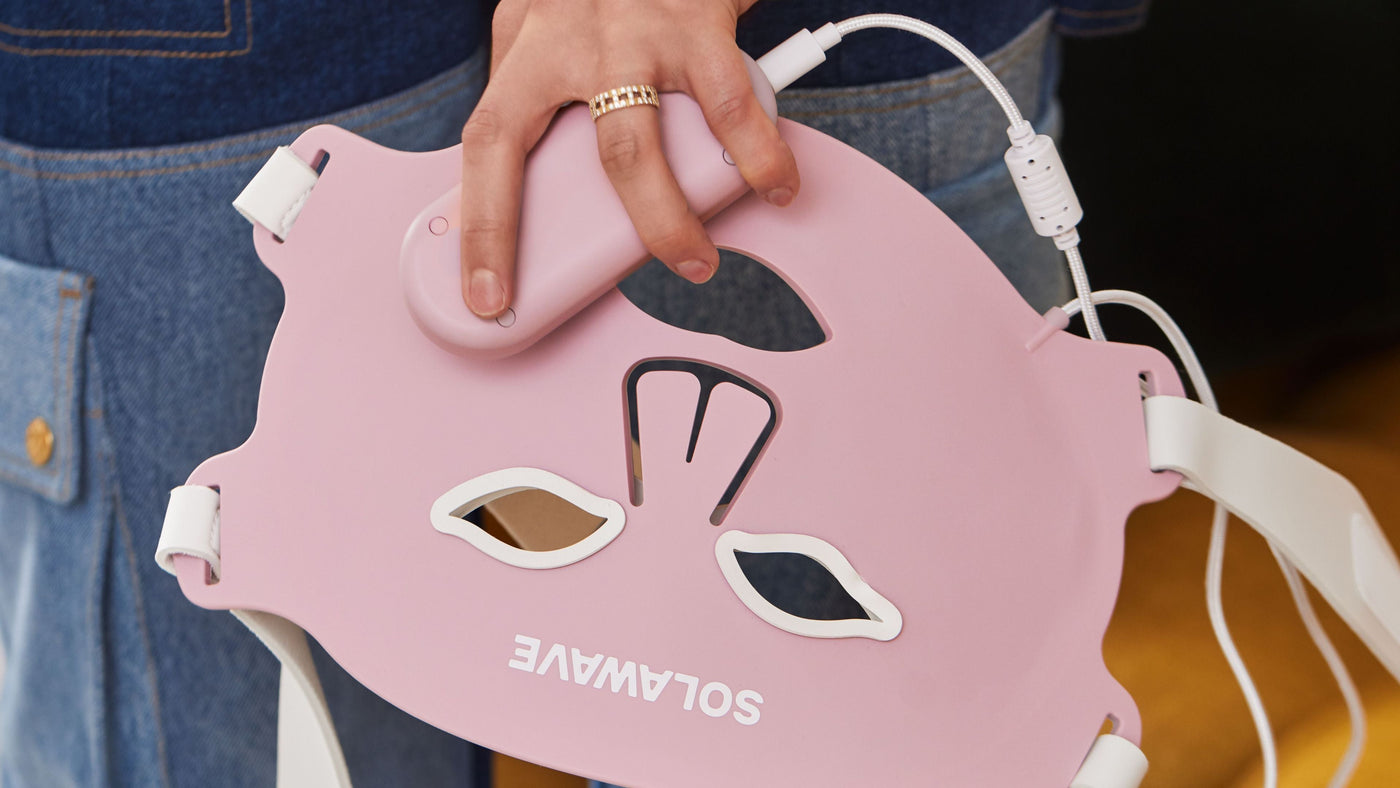
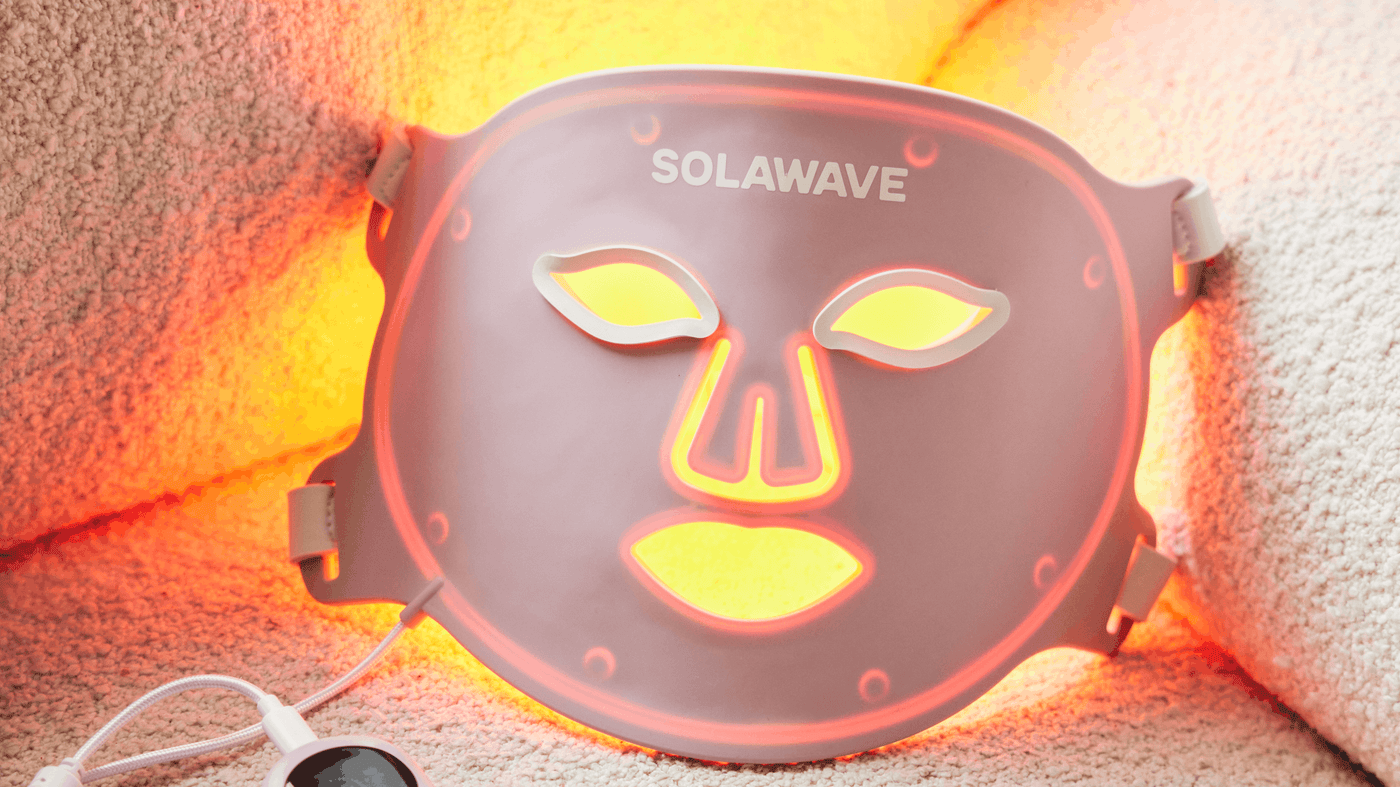
A wearable mask provides full, hands-free coverage across the entire face in a single treatment. The Wrinkle Retreat Pro LED Face Mask is an FDA-cleared device featuring 320 LEDs. It delivers four targeted wavelengths: Amber (605nm), Red (630nm), Deep Red (660nm), and Near-Infrared (830nm).

This combination is designed to target the appearance of fine lines, wrinkles, and uneven tone across the entire face in a quick 3-minute session. It includes built-in eye protection and adjustable straps for a secure, hands-free experience.

Handheld Wands for Multitasking and Precision

Handheld devices allow you to focus closely on specific areas of concern, such as smile lines, forehead lines, or the jawline.

The 4-in-1 Skincare Wand is an FDA-cleared tool that combines 630nm red light therapy with galvanic current, therapeutic warmth, and gentle facial massage. Powered by 14 LEDs across 7 dual-core chips, it glides across the skin to help facial contours look firmer and refreshed. Treatments take 3 minutes per zone, up to 12 minutes total.

Targeted Masks for the Delicate Eye Area

The skin around the eyes is exceptionally delicate and often shows the first signs of fatigue and aging. The Radiant Renewal Eye Recovery Pro eye mask is an FDA-cleared eye mask equipped with 80 LEDs.

Emitting Amber (605nm), Red (630nm), Deep Red (660nm), and Near-Infrared (830nm) light, this device is designed specifically to address the look of crow's feet, under-eye fine lines, and dark circles in a targeted 3-minute session.

Compact Devices for Face and Body

If you travel often or want a versatile tool for both the face and targeted body zones, compact devices offer portability. The 2-in-1 Skincare Mini is an FDA-cleared tool combining Red (630nm) and Near-Infrared (830nm) light with soothing warmth across 9 dual-core LEDs. It can be used on facial areas, hands, and the neck for 3 minutes per zone.

Blue and Red Light for Blemishes

For sudden breakouts, targeted dual-light tools offer focused support. The Bye Acne spot treatment is an FDA-cleared acne device that combines 415nm blue light with 630nm red light. It is designed to target the look of blemishes and calm the appearance of redness in a 3-minute, single-spot treatment.

How to Layer Skincare Topicals with Light Therapy

Pairing the right topicals with your light therapy routine helps support skin barrier comfort and visible hydration.

Cleanse Skin -> Apply LightBoost / Wand Serum -> Run Light Therapy -> Lock in Moisture

Formulated Serums for Device Glide

When using devices that involve galvanic current or massage, a hydrating conductive medium is essential for smooth movement. LightBoost Wand Activating Serum is specifically formulated to provide optimal glide and skin contact during wand treatments.

Apply a generous layer of serum to your first facial zone before turning on the wand, and reapply as you move to the next section. Because the formula is designed to nourish the skin, you do not need to wash it off after your session; simply pat the remaining serum into your face.

Layering Serums and Creams with LED Masks

When using full-face masks or neck devices, you have flexibility in how you layer your products. LightBoost Face & Neck Serum and LightBoost Face & Neck Rich Cream are designed to work alongside light therapy.

If using both topicals before your mask session:

  1. Apply the Face & Neck Serum to clean skin first.
  2. Follow with the Face & Neck Rich Cream.
  3. Allow both layers to absorb fully into the skin before putting on and turning on your mask.

For under-eye treatments, tap a pea-sized amount of LightBoost Eye Cream around the orbital bone and allow it to sink in completely before starting your eye mask session.

Daily Barrier Support with Pre- and Probiotics

On non-device days or as part of your broader daily regimen, supporting the skin barrier helps maintain a smooth, supple texture. A complete four-step routine might look like this:

  1. Cleanse: Wash gently with Pre- & Probiotic Hydrating Gel Cleanser to remove impurities without stripping natural moisture.
  2. Tone & Refresh: Spritz Pre- & Probiotic Refreshing Jelly Mist over the face to deliver instant, lightweight hydration.
  3. Plump & Hydrate: Press Pre- & Probiotic Plumping Peptide Serum into damp skin to support the look of firmness and suppleness.
  4. Nourish & Lock In: Finish with Pre- & Probiotic Nourishing Moisturizer using upward strokes to keep the complexion feeling soft and protected.

When extra moisture is needed, incorporating the Hydrating Sheet Mask for 10 to 20 minutes once or twice weekly delivers a concentrated hydration boost.

Essential Safety Guidelines and Best Practices

Facial red light therapy is non-invasive, gentle, and well tolerated by most skin types. However, observing proper safety guidelines ensures your treatments remain safe and effective.

General Health and Skin Considerations

Light therapy devices are intended for cosmetic use by healthy adults aged 18 and older. If you have active skin conditions, are pregnant, are planning pregnancy, or have a medical condition such as epilepsy or a history of seizures, consult your healthcare provider before using light-emitting devices.

Certain prescription medications, including specific acne treatments, antibiotics, and topical acids, can increase photosensitivity. If you are taking any medication that makes your skin sensitive to light, speak with your doctor prior to starting light therapy.

Patch Testing for Light Sensitivity

Before completing your first full facial session, perform a simple light-sensitivity test:

  1. Turn on your device and hold it over a small, inconspicuous patch of skin on your forearm for the duration of a standard session (typically 3 minutes).
  2. Observe the skin over the next 24 hours.
  3. If you experience persistent redness, discomfort, or irritation, discontinue use and consult a dermatologist.

Device Maintenance and Hygiene

Keeping your device clean prevents the buildup of oils, skincare residues, and dust.

  • Always turn off and unplug your device before cleaning.
  • Wipe down the surface using a damp cloth, a water-based wipe, or 70% alcohol wipes, such as Light Therapy Device Cleaning Wipes.
  • Allow the device to air dry completely before using or storing it.
  • Never submerge any light therapy device in water.

Store your clean device in a cool, dry place or inside a dedicated protective sleeve, such as the Replacement Carrying Case.

Key Takeaway: Facial red light therapy works gradually through consistent application. Stick to 3 to 5 sessions per week, protect your eyes during mask sessions, and allow compatible topicals to absorb fully for the best visible results.

Conclusion

Using red light therapy on your face at home is a simple, effective way to elevate your skincare routine. By pairing consistent sessions with clean skin and targeted topical support, you can help your skin look visibly smoother, firmer, and more luminous.

  • Start with clean skin: Remove all makeup, dirt, and sunscreen before every session.
  • Stay consistent: Commit to 3 to 5 sessions per week for steady, cumulative visual benefits.
  • Match your topicals: Use hydrating serums designed to complement your device for smooth glide and deep hydration.
  • Prioritize safety: Always use the required eye protection with facial masks and consult a doctor if you take photosensitizing medications.

Take the Solawave Skin Quiz to discover the ideal device and topical pairing tailored to your unique skin goals.

FAQ

How long does it take to see visible results from facial red light therapy?

Visible changes from red light therapy develop gradually with regular use. Most people notice improvements in the look of skin smoothness, tone, and radiance after 4 to 8 weeks of consistent sessions performed 3 to 5 times per week. Individual results vary depending on skin type and consistency.

Can I use facial red light therapy every day?

Most facial devices are designed for use 3 to 5 times per week, with a maximum of one session per day on any single treatment area. Overusing light therapy does not accelerate results and can lead to diminishing returns. It is best to follow the frequency outlined in your device manual.

Should I apply serums before or after using red light therapy on my face?

Application order depends on the device you use. For wand treatments requiring glide, apply your activating serum immediately before starting. For LED face masks, you can apply compatible formulas like LightBoost Face & Neck Serum beforehand, provided they are fully absorbed into the skin before turning on the device.

Is red light therapy safe for sensitive facial skin?

Red light therapy is non-thermal and non-invasive, making it suitable for many sensitive skin types. However, if you have an active skin condition, take photosensitizing medications, or have a deeper skin tone prone to hyperpigmentation, perform a patch test and consult a dermatologist before beginning regular treatments.

The statements on this website have not been evaluated by the FDA. The information provided on this site is not intended to diagnose, treat, cure, or prevent any disease and should not be construed as medical advice. Results may not be typical.